Getting Started Using the Studio
Red Hat Mobile Application Platform’s studio is our web interface used to help developers and operations work together to build and deploy mobile apps. The studio allows both mobile developers and server-side developers to work together to accelerate development time. It also allows operations teams to deploy applications easily through multiple lifecycles as well as deploy mobile applications through the app store.
Lets begin this lab by going to the home page.
Select the “Red Hat Mobile Application Platform” button located in the top left of the web console’s header.
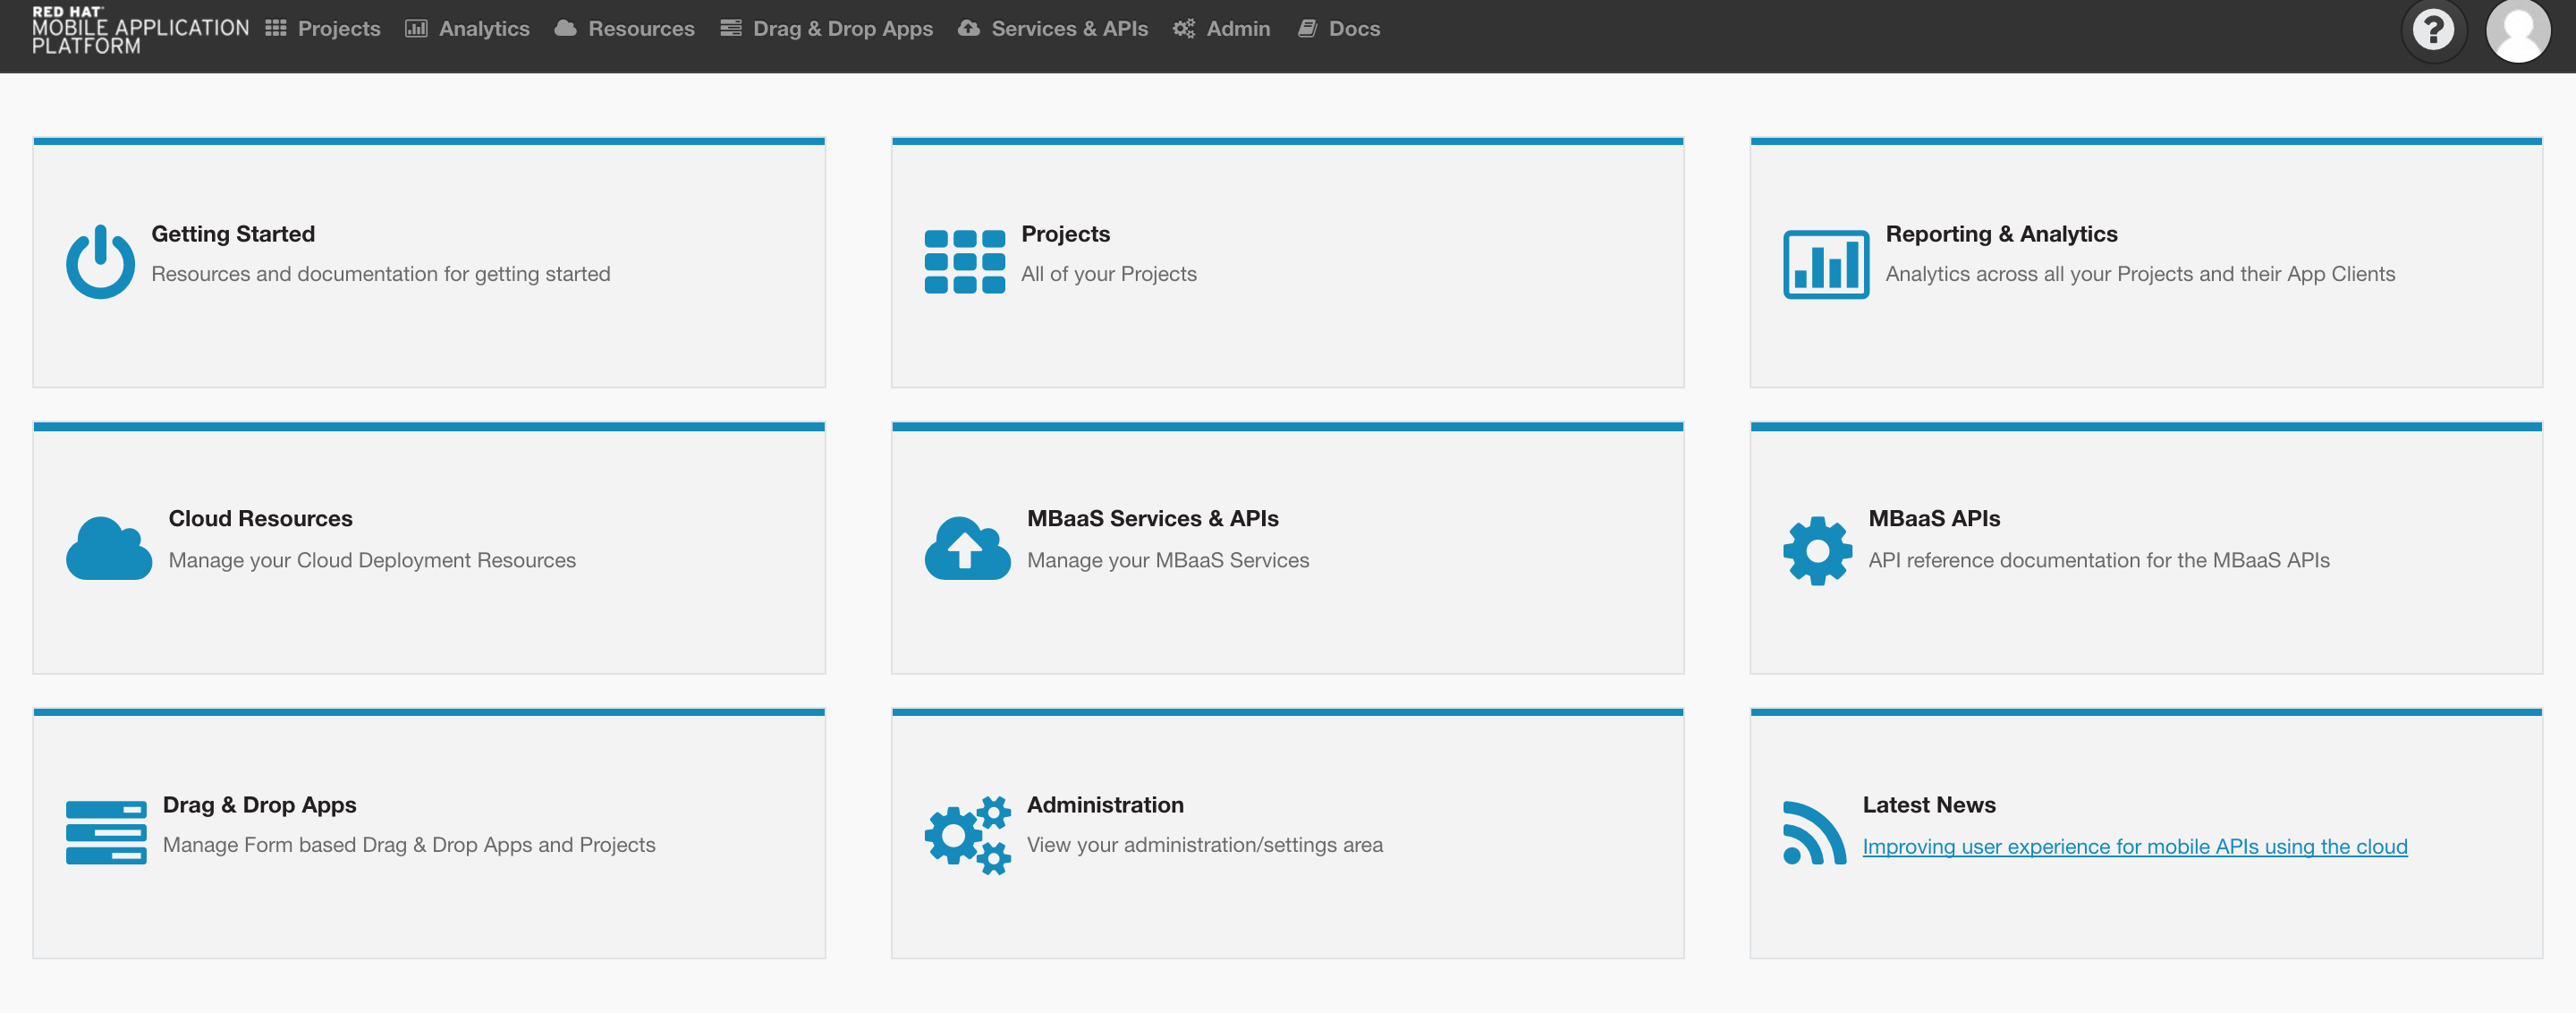
RHMAP Homepage with admin privledges
Create Your Own Project
Projects help you group all code bases related to a single mobile application in one place. Projects contain client apps, cloud code apps, mBaaS services, and any data and configurations associated with them.
In this section we will be creating a new project from an existing template included in RHMAP. RHMAP offers many project templates to start with out of the box.
-
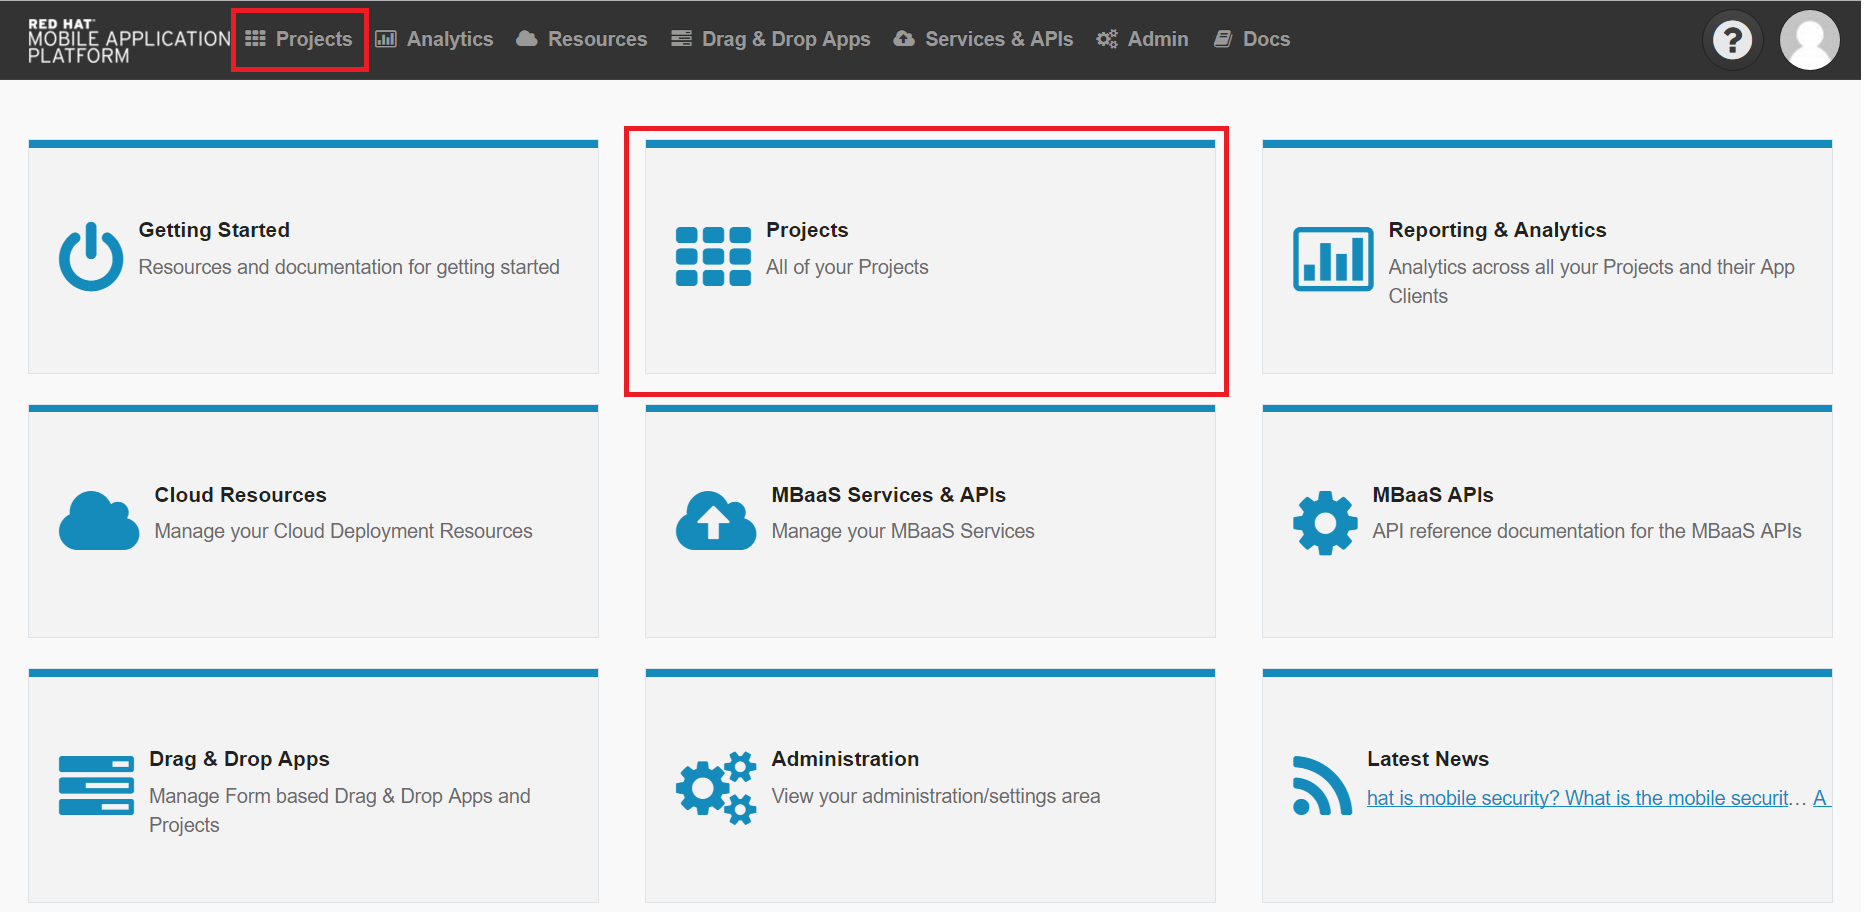
Navigate to the projects area. You can do this by selection the Projects button in the header or by selecting the Projects button from the home page.
-
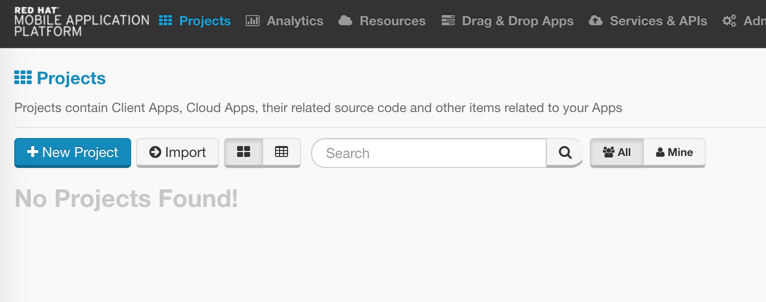
Click +New Project.
-
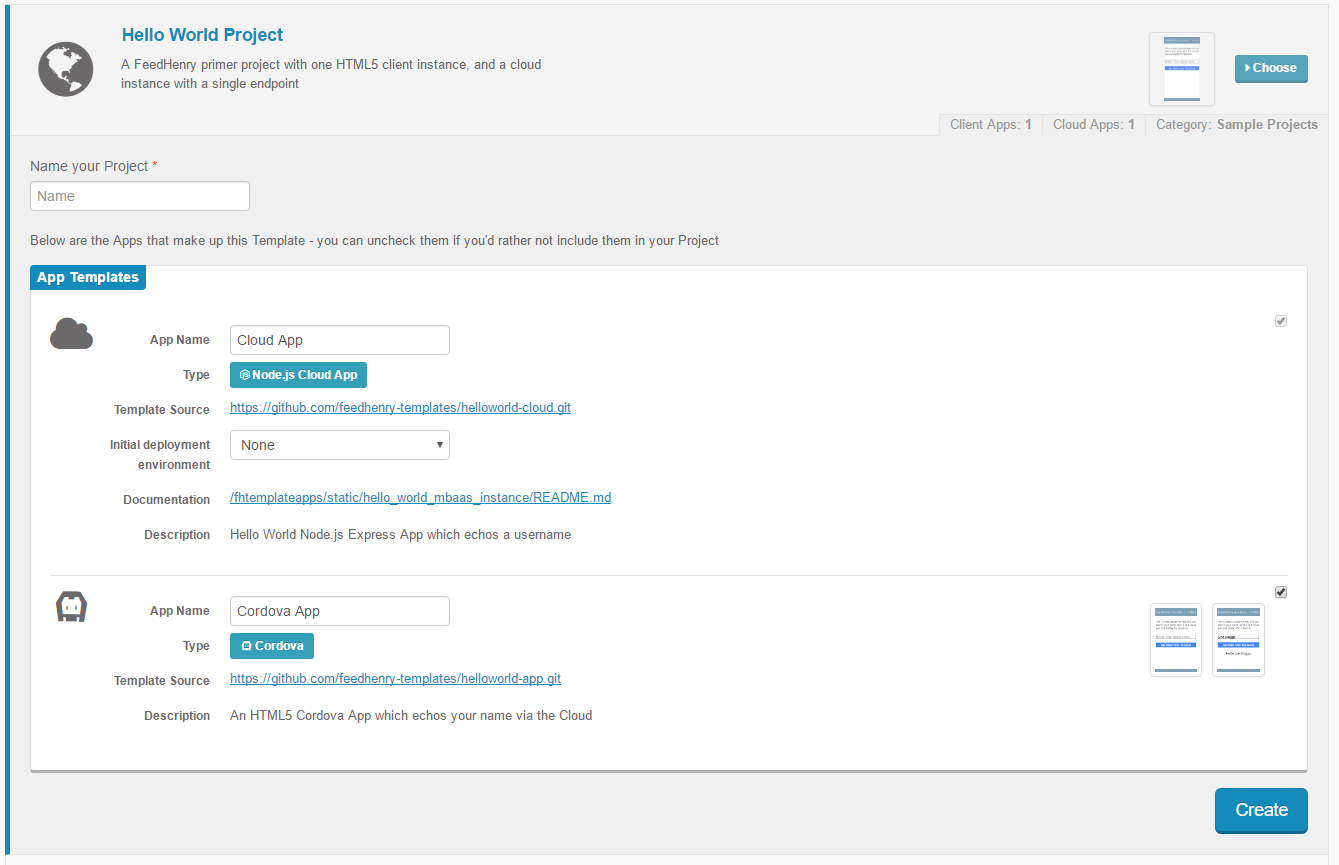
Select the “Hello World Project” by clicking Choose on the right side next to it.
-
Enter a name for the project.
-
Click Create.
-
When the progress bar turns green the project is successfully created. Click Finish.
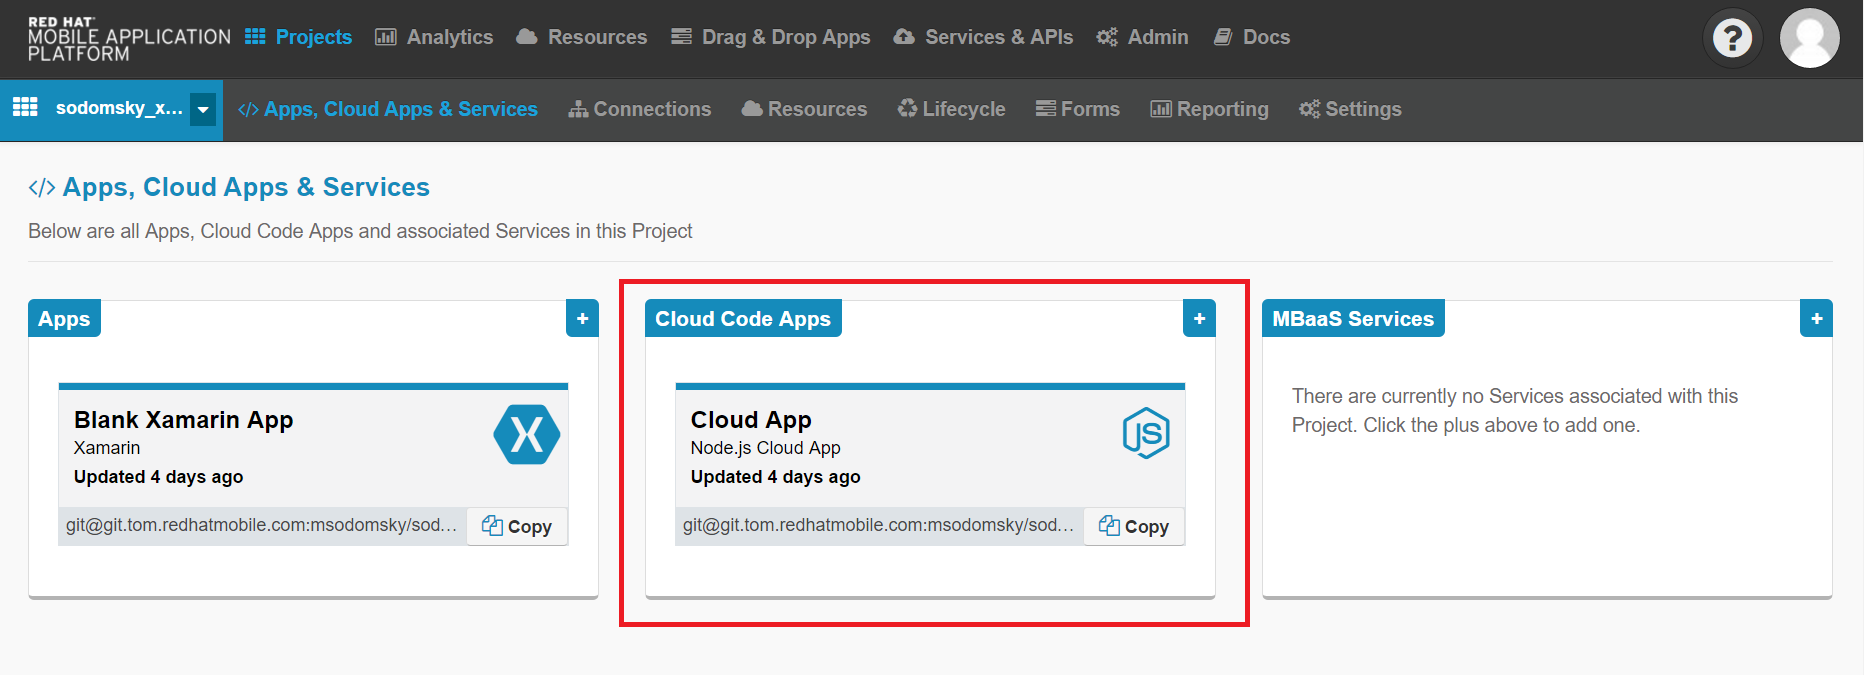
Exploring the Project
After creating a project, you can see the project page. This shows the client apps, cloud code apps, and mBaaS services associated with a project.
- Client Apps: applications deployed on mobile devices used by the end users.
- Cloud Code Apps: applications deployed in the mBaaS that handle requests from client apps and communicate with other internal or external systems.
- mBaaS Services: reusable services used by cloud code apps and shared across multiple projects.
The newly created Hello World Project contains one Cordova client app and one cloud code app with a single HTTP endpoint. You can add more client apps, cloud code apps, and mBaaS services to the project by clicking the + in each column.
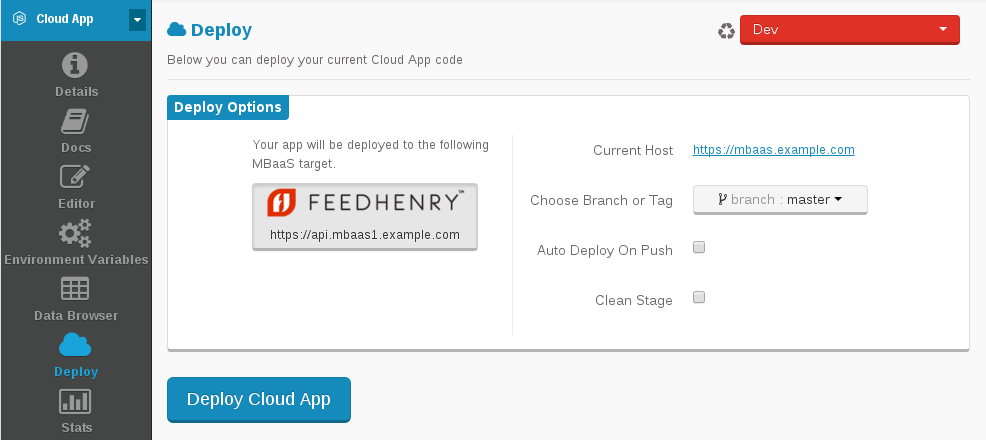
Deploying the Cloud Code App
Depending on settings within the platform the cloud code app may need to be manually deployed. In this workshop environment, we have configured all deployments to be done manually. We will step through the process of how to do that now.
-
On the Projects page open the Cloud Code App. This is the middle column.
-
Click Deploy on the sidebar on the left sidebar.
-
Click the Deploy Cloud App.
-
Once the progress bar turns green your cloud app will be deployed.
-
Click the Details button on the left sidebar.
-
Confirm that your Cloud App Status is running. If the app is not started confirm your app successfully deployed on the previous page and then click Start App on the Details page.
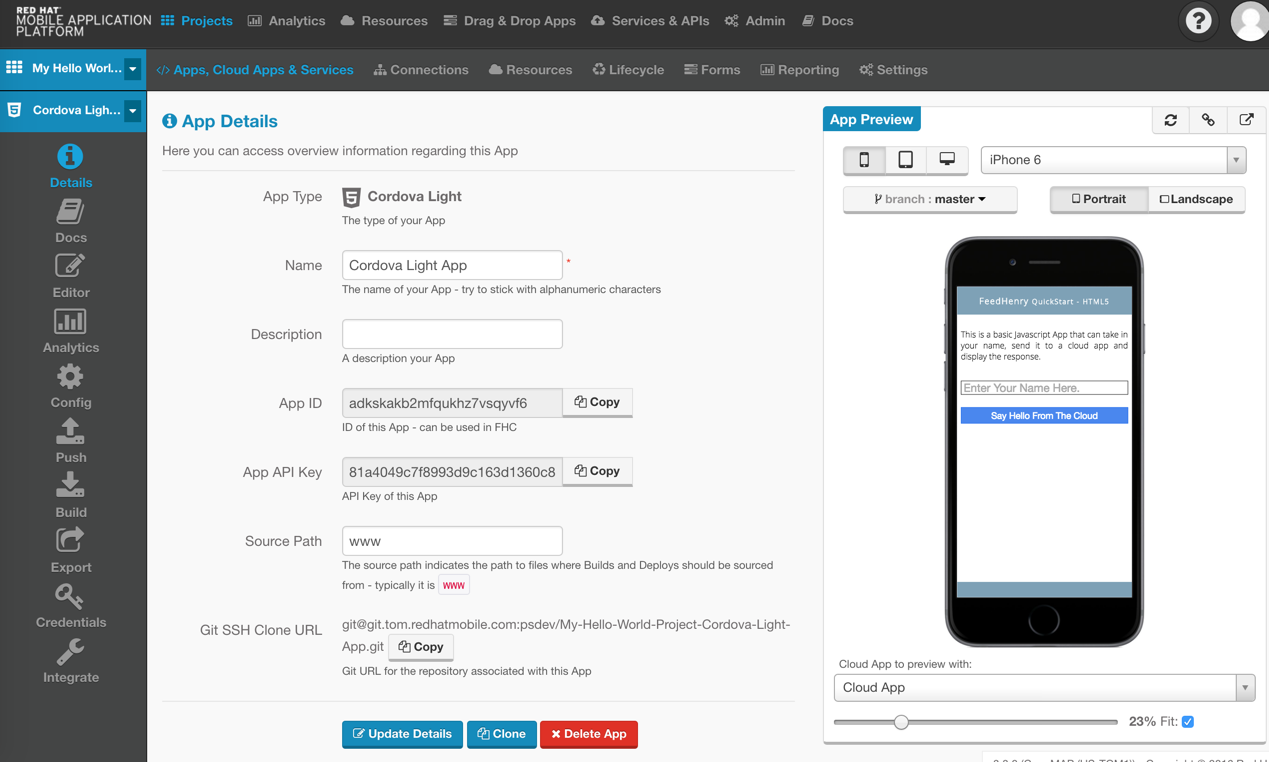
Exploring the Client App
-
The app details page shows information about your client app. It has information such as the name, a Description, and the ID’s which will be used later. Since this is a Cordova application, which is HTML5, CSS, & JavaScript, we can preview the application in the browser.
-
Test the app by inputting some text in the app on the right and selecting Say Hello From The Cloud This is sending the data from the client app rendered in the browser to the cloud app we deployed earlier. The cloud app is designed to return the text you sent back.
Building the Client App
Due to the nature of how iOS licensing works, iOS users will not be able to download the app to their phone to test it. Android allows for the building of debug versions. The platform has a mechanism to distribute these licenses to projects for the developers to build, but is out of the scope for todays lab.
-
Navigate to Build on the left sidebar.
-
In the Client Binary section, select Android as the target platform. If you are building an Android Debug app, you don’t need any credentials. If you are building a Production Android App or any type of iOS App, you will be prompted to upload the various credentials needed.
-
Click Build.
-
Once the build is complete, a popup will display showing a download link & a QR code. Android users can download the application natively to their devices now.
Note: On your Android mobile device, you must enable the option to install apps from unknown sources. See the section User Opt-In for Apps from Unknown Sources in the Alternative Distribution Options guide in Android documentation for more information. The client app built in this example is considered by Android as coming from an unknown source since the client app binary is not signed with a developer’s certificate.