Working with the forms builder
The Red Hat Mobile Application Platform Hosted (RHMAP) Studio provides you with all the tools you need to quickly create mobile apps for capturing data submissions using a powerful drag and drop UI. Drag & Drop forms-based apps are a way of quickly creating simple mobile apps or prototypes. The platform includes features for drag and drop apps such as photos, scan, GPS, signature capture, etc. The apps created can then be easily integrated with backend systems or other cloud services. All Forms based app’s functionality is available as RESTful Web Services.
This lab will step you through how to use the drag and drop builder.
Summary of steps to create a drag and drop app:
- Create a form, including rules
- Create a group of users who can work with that form in the Studio
- Define who will be notified of data submissions
- Create a theme for your Forms
- Create an app for the form
- Generate and install a binary of that app on your phone
- Submit data from the app
- View and print those submissions
Creating a Form
Forms are used to capture data from the end users of your solution. To create a new form:
Select Drag and Drop Apps in the platform header.
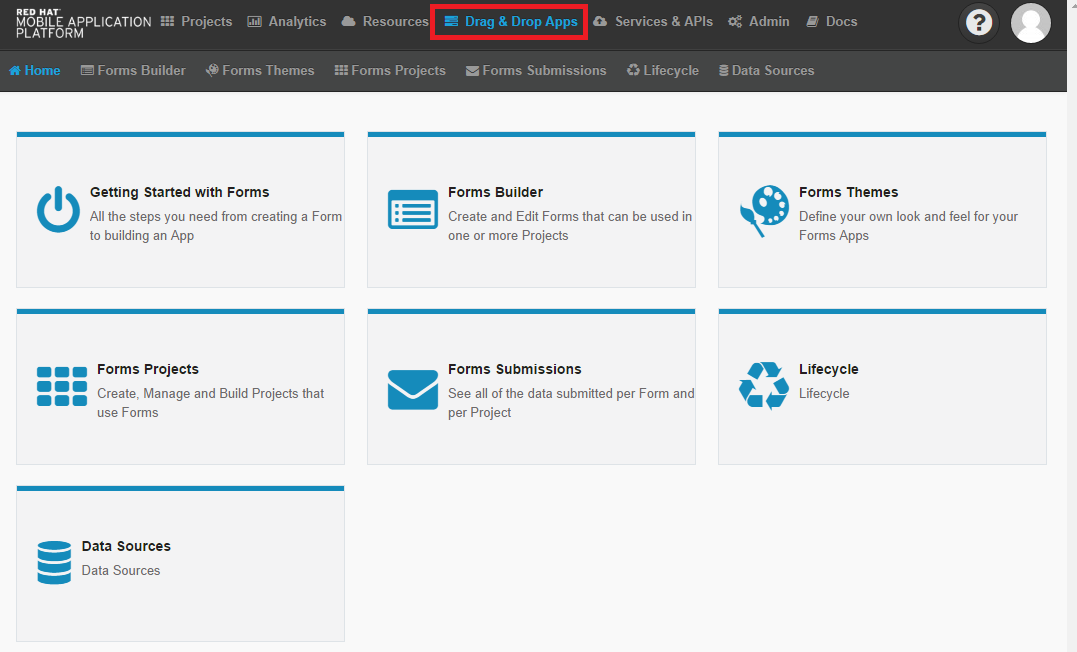
Click on the Forms Builder Menu.
This screen will show all forms created within the platform. They can be reusable within multiple applications.
Click on New Form.
This page shows templated forms we have already prebuilt. You can see the configurations of each of these templates within the preview.
Select any of these templates or select **Blank Form** to start with a clean app.
Scroll down the page, and add name your form within the text box.
Select Create Form.
Editing a Form
Now that we have created a form. We can begin to edit to fit a use case you need.
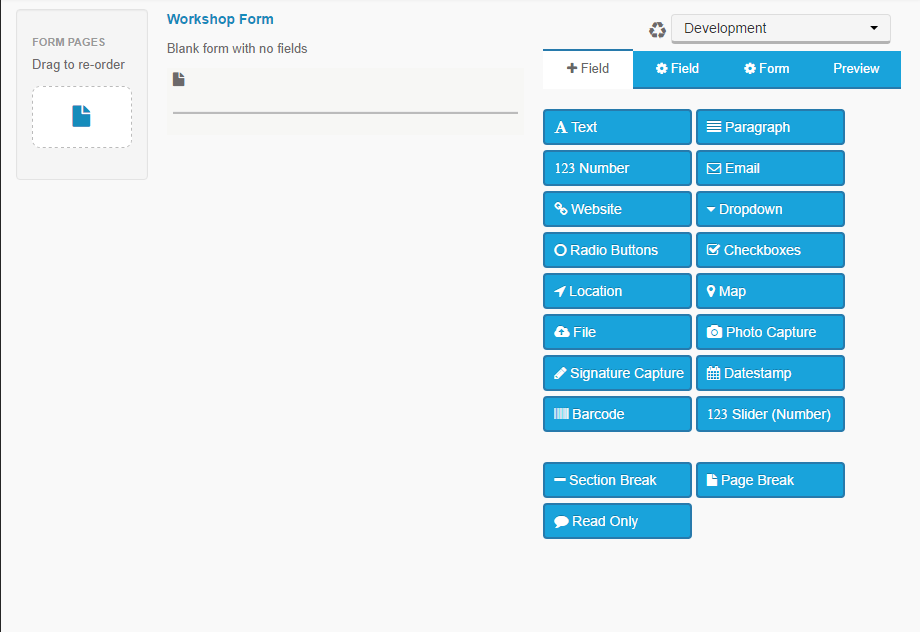
Select the Text button to create a text entry on your form.
NOTE: Clicking a field will add it to the end of a form.
Dragging allows you to position a field anywhere in the form.
Click on the newly added field.
A new menu will appear at the right hand side of the page. This menu allows us to further configure the selected field.
Rename the textfield 'Name', ensure the 'Required' check box is ticked.
Having this box checked means that a user can not submit the form unless they have entered a value for this field.
A preview of what the form looks like can be seen by clicking the Preview tab, located at the right hand side of the page. Here you can get a preview of what the current form looks like on a device.
Forms can easily be created with multiple pages and fields can have specific validation rules associated to them. Advanced fields such as photo capture and signature capture are just as easy to use as simple fields and can also be repeated in a form as many times as you wish.
Add the Signature Capture, Photo Capture and any other fields. Edit the names on these fields.
Click Save.
This will save the form in its current state and cause the browser to return to the Forms Screen.
Defining Rules & Notifications
The powerful Rules section of a form enables you to create both field and page based rules. Field rules let you enable or disable the display of certain fields based on the contents of other fields. Page rules let you enable or disable the display of certain pages based on the contents of specific fields. In both cases, multiple rules and criteria can be created.
E-mail notifications can be set on a per-form basis. Different users or sets of users can be notified of each new submission with the content of that submission attached as a PDF.
Create a Theme for Your Forms
Themes are used to control the look and feel of your Drag and Drop App. You can just use the default theme if you wish to get started quickly. It’s unlikely that you’ll create many themes for your apps but at a minimum, you may just wish to set your logo.
Select Drag and Drop Apps in the platform header.
Click on the Forms Themes Menu.
This screen will show all themes created within the platform. They can be reusable for multiple forms.
Click on New Theme.
Select a template to get started.
Give your theme a name and a description.
Click Create Theme and you’ll be brought to the Edit Theme page.
At this point you may make any changes you wish to colors, fonts, spacing or the main logo.
When finished making any changes, scroll to the bottom and click Save.
Creating an App for the Form.
Now that we have created a form and a theme we will need to create the app to combine them. This allows you to combine forms with different themes.
Navigate to the Forms Projects sub-section of the Drag & Drop Apps area.
Click Create New Project and give your project a name. Click next.
This will cause Studio to start generating all the necessary code for your app. When the project has successfully been created, you will be prompted to pick a theme and pick the form(s) that should be included in the App. You can now choose the theme and form you created above.
Select your Project Theme from the dropdown.
Add the form(s) you have created to textbox and click Save
Scroll to the bottom of the page and click Finish.
Upon completion of this you will be moved to the Dashboard of your forms project.
Generate and Install your app
Building forms app is done through the build farm. Once built you can download it to your phone similar to the app in the earlier lab.
Click Build this app in the Cordova Forms App.
Select Android as the platform.
If you are building an Android Debug app, you don’t need any credentials. If you are building a Production Android App or any type of iOS App, you will be prompted to upload the various credentials needed.
Select Build.
Submit Data from your app.
Install the app on your device using the QR code or short-URL. Run the app and then start creating submissions in the forms that you included in your App. If you cannot due to credentials there will be a Forms Project you can see details in for the next section.
You can view these Submissions by:
- Select Forms Submissions
- On the left bar select By Project and use the dropdown to select your project.
Each submission shows text fields, photos, signatures, and any other fields that have been submitted. Depending on your Group permissions you can download PDF, print, delete or edit each submission.