Working with Source Control Management (SCM)
The Red Hat Mobile Application Platform was built with the on-going goal of making it quick and easy to develop AND maintain mobile solutions. A big part of that is source control management. You may or may not be familiar with git. But if you have used it, chances are you love it - and so do we. In fact, we bundle a git server as part of our platform. This lets us do nifty things like Continuous Integration and Continuous Deployment (CI/CD, which we will get in to in another lab). In this lab we are going to walk through setting up your local development environment to securely communicate with the platform’s hosted git repository.
Double check that git is installed
You should’ve already setup git in the prerequisites lab.
Double check it works by typing:
$ git version
git version results
Double check that fhc is installed
You should’ve already setup fhc in the prerequisites lab.
Double check it works by typing:
$ fhc version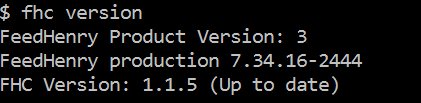
fhc version results
Let’s setup some secure access keys
Adding ssh keys will allow the communication between the platform and your development machine be secured via asymmetric cryptography. So all the git commands you run will utilize these access keys to encrypt data in transit. Yeah, it’s a little complicated under the hood. But almost all of the internet relies on this method for digital communication security, and we make it easy to setup.
First, we are going to generate some keys:
Goto the terminal and type the following:
$ cd ~/.ssh
$ ssh-keygen -t rsa
ssh-keygen will ask you to name the file. Leave this at default if possible: “id_rsa”. Windows and OSX users may experience issues naming their ssh keys other than the default. This is caused by git not understanding where your private key is located.
Name your ssh key:
use "id_rsa" if possible. if not use "id_rsa_rhmap_YOURDOMAIN"Specify a passphrase or just leave that blank(hit enter).
Next, we are going to add your public key to the platform and specify a unique label for it:
Goto the terminal and type the following (replacing YourLastName with your last name and KEY_NAME with the name you chose for your ssh key):
$ fhc keys ssh add YourLastName ~/.ssh/KEY_NAME.pubMake sure the key was added by typing
$ fhc keys ssh
Now let’s check out some source code!
Developing locally is often more comfortable for developers. We each get used to the subset of tools we currently use and RHMAP can work with that. We are going to clone the client app from the previous labs here. To begin we need to find the ID of the project we created so we can clone it using the command line tools. We can do this through the command line or the web browser.
Web Console Steps
We need to get the project ID to clone the git repository to our local environment. This is located in the web console when inside a project.
Navigate to your project. To get to the list of projects. Select Projects in the studio header or by navigating to the studio homepage and selecting Projects from the available options.
Select the Settings button.
Copy the Project ID
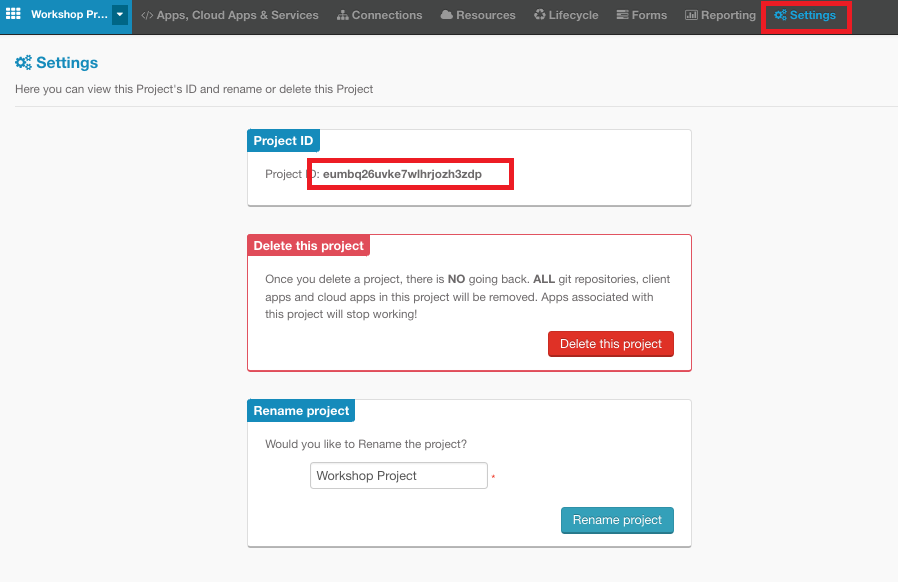
Project Settings page
Cloning the Code
Once we have the project ID, we can pull clone the code from the git repository within the platform. We will start by Creating a folder where you would like to work out of.
Before we clone anything we need to navigate to change our working directory.
Goto the terminal and type the following
$ mkdir ~/workspace/rhmap
$ cd ~/workspace/rhmap
Once inside that folder type the following:
$ fhc projects clone <project ID>This will copy the entirety of the project into the folder this is where you will work from when developing locally.
NOTE: You can also clone an individual app, whether that is a client app,
cloud app or MBaaS Service with the command:

    fhc clone <project ID> <app ID>
Editing source code
Now that we have pulled down the code from the platform to our local environment we can modify the code using any editor we would like.
First we have to navigate to the client app.
Goto the terminal and type the following
$ cd <client app name>Navigate to www/index.html
Open the file in the editor of your choice. Atom, Notepad, VI, etc.
Overwrite index.html with the following code:
<!doctype html>
<head>
<meta charset="utf-8">
<meta name="viewport" content="width=device-width, initial-scale=1, user-scalable=no">
<title>MyWeather</title>
<link rel="stylesheet" href="css/app.css">
<script src="cordova.js" type="text/javascript"></script>
<meta http-equiv="Content-Security-Policy" content="default-src *; style-src 'self' 'unsafe-inline'; script-src 'self' 'unsafe-inline' 'unsafe-eval'" />
</head>
<body>
<header class="header-footer-bg">
<div class="center">
<h3>Red Hat Mobile
<small>Cordova - getWeather</small>
</h3>
</div>
</header>
<div id="count" class="">
<div id="formWrapper">
<p id="description">This is a basic Cordova App that can take in your geolocation and send it to a cloud app.
The cloud app will query the mMaaS which will reach out to the api and modify the results of the call. It will then send it back to the device and display the response.
The response is the current temperature at your location in fahrenheit.</p>
<br>
<button id="get_Temp" type="button" class="say-hello-button">Get the current temperature</button>
<div id="cloudResponse" class="cloudResponse"></div>
</div>
</div>
<footer class="header-footer-bg">
<div>
<small class="right">
<!-- v. -->
</small>
</div>
</footer>
<script src="main.js"></script>
<script src="js/weather.js"></script>
</body>
</html>Save the file.
Next we need to rename the hello.js file to weather.js. We will be renaming www/js/hello.js to www/js/weather.js.
Type the following:
$ mv ~/workspace/rhmap-workshops/www/js/hello.js ~/workspace/rhmap-workshops/www/js/weather.jsOpen the www/js/weather.js file in the editor.
This file contains a click handler for the Say Hello From The Cloud button, which uses the $fh.cloud API to call the /hello endpoint of the cloud app and populates the placeholder <div id="timestamp"> element. Set the placeholder to the received timestamp value.
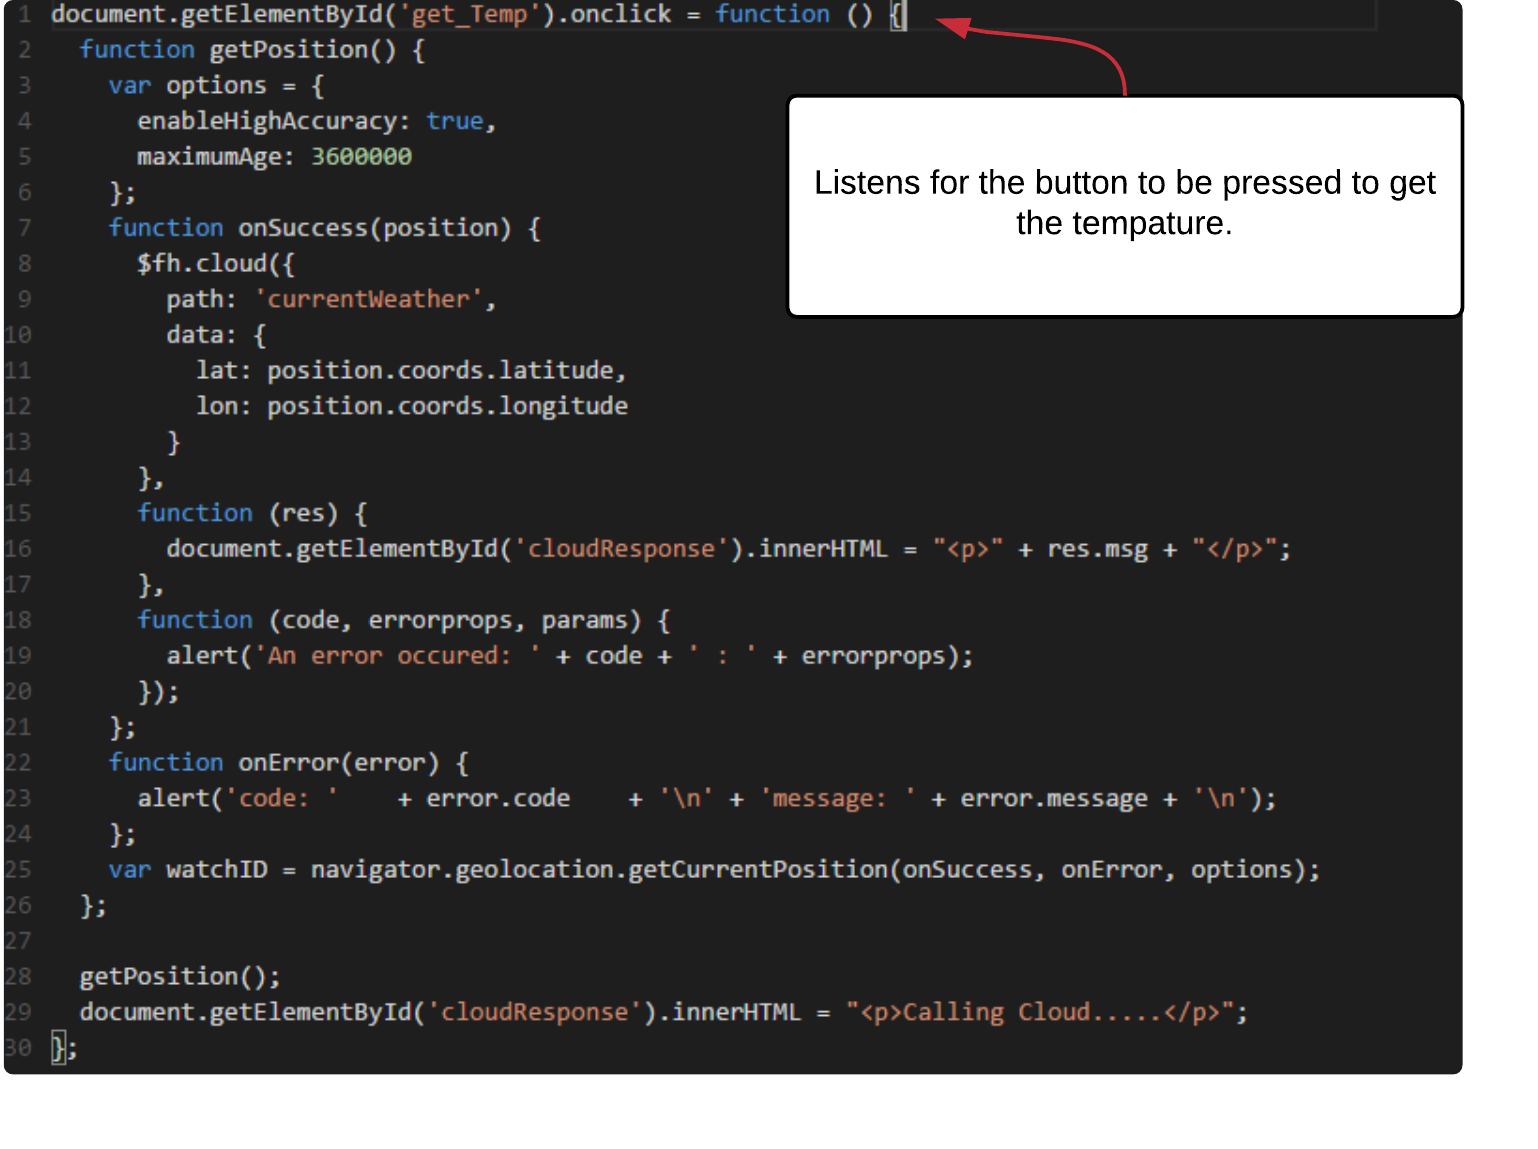
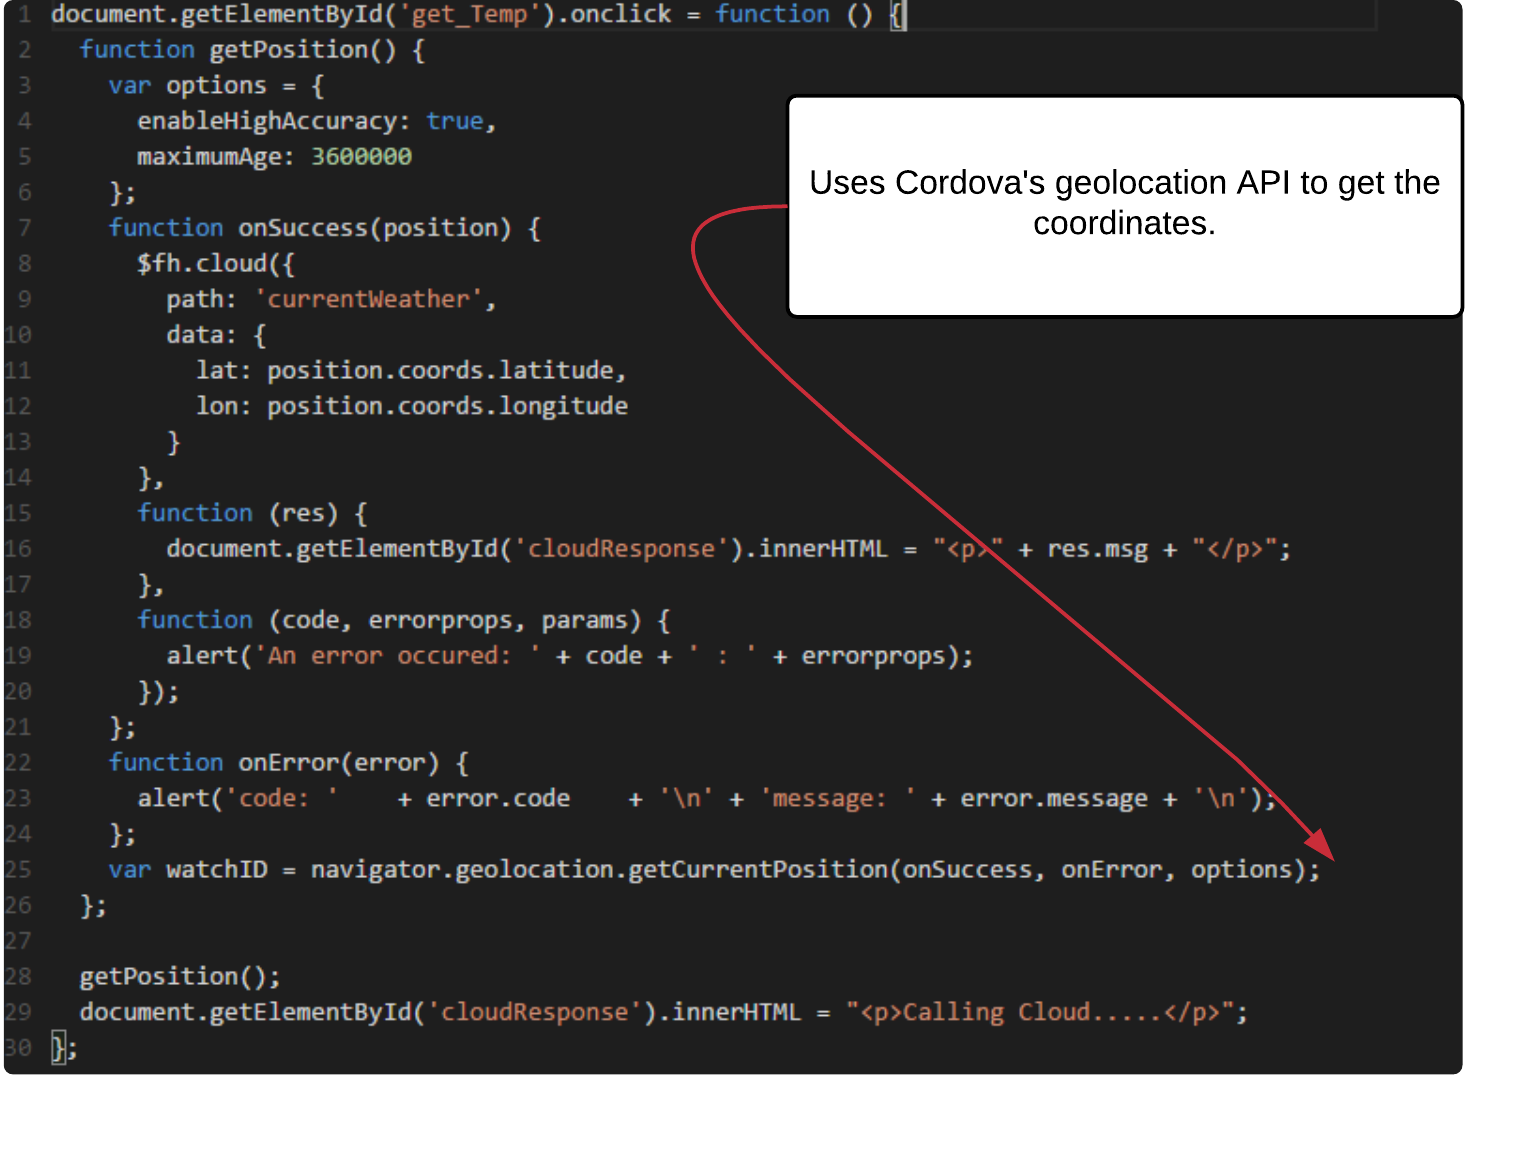
Overwrite weather.js with the following code:
document.getElementById('get_Temp').onclick = function () {
function getPosition() {
var options = {
enableHighAccuracy: true,
maximumAge: 3600000
};
function onSuccess(position) {
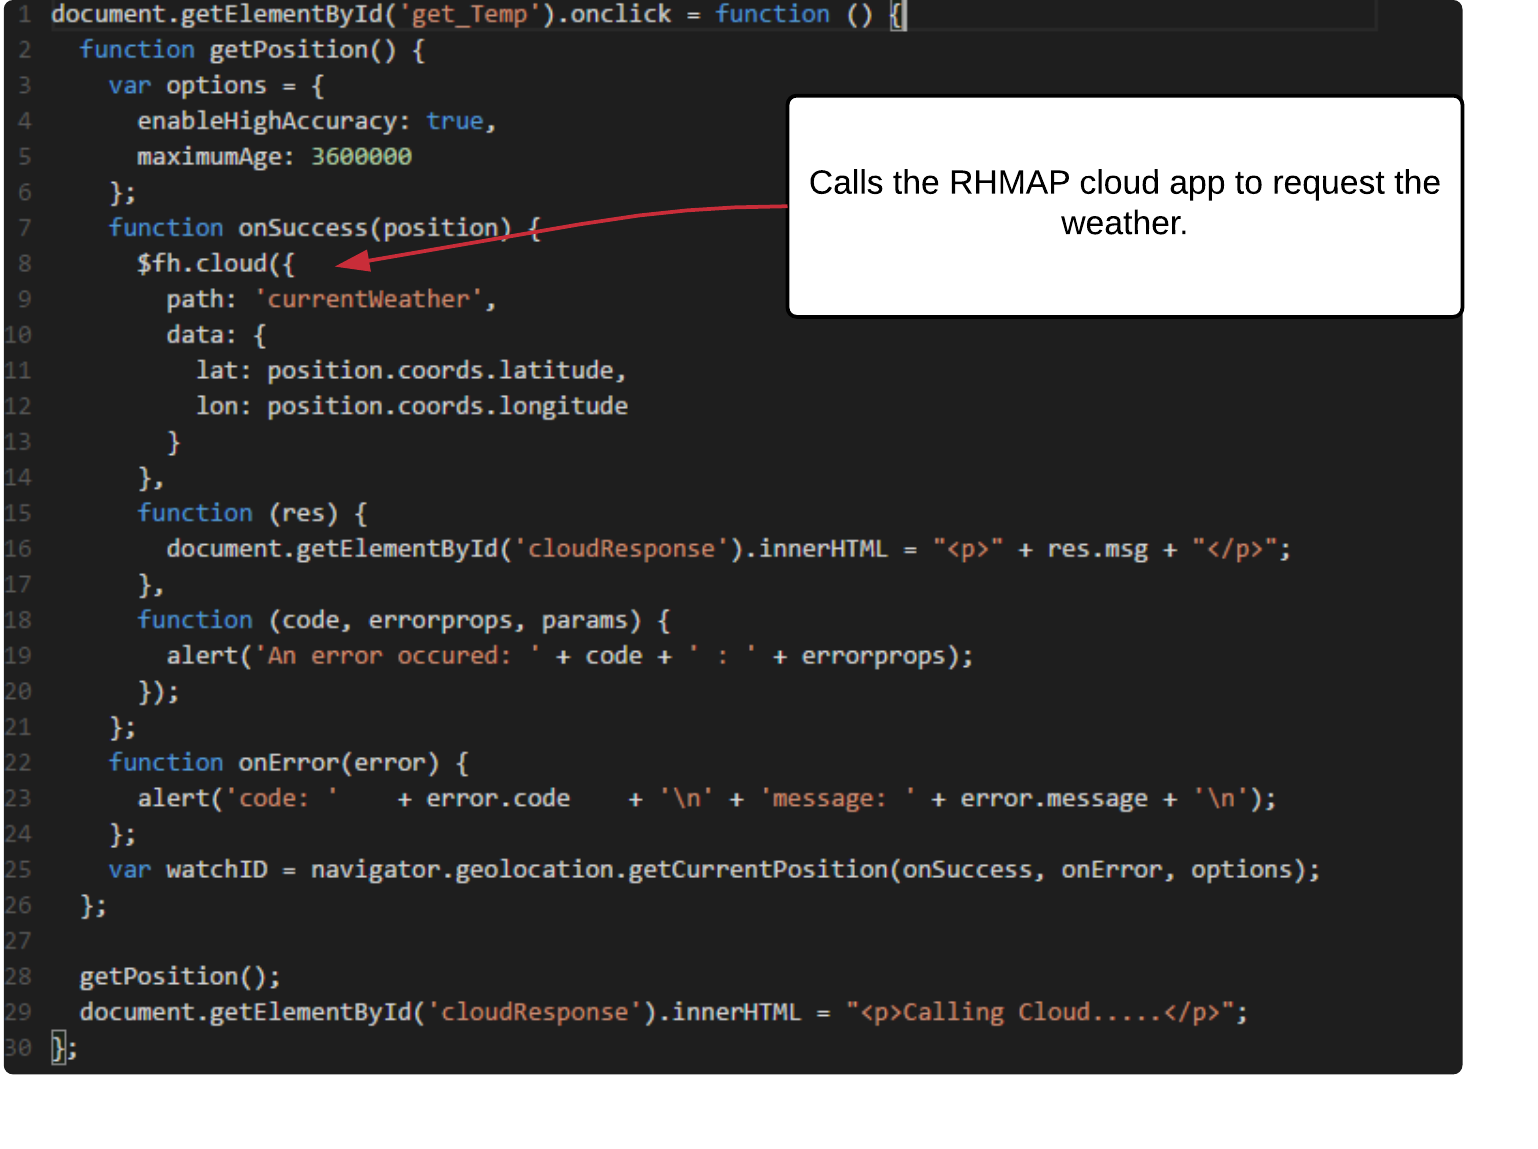
$fh.cloud({
path: 'currentWeather',
data: {
lat: position.coords.latitude,
lon: position.coords.longitude
}
},
function (res) {
document.getElementById('cloudResponse').innerHTML = "<p>" + res.msg + "</p>";
},
function (code, errorprops, params) {
alert('An error occured: ' + code + ' : ' + errorprops);
});
};
function onError(error) {
alert('code: ' + error.code + '\n' + 'message: ' + error.message + '\n');
};
var watchID = navigator.geolocation.getCurrentPosition(onSuccess, onError, options);
};
getPosition();
document.getElementById('cloudResponse').innerHTML = "<p>Calling Cloud.....</p>";
};
Pushing the code back to the platform.
Now that we have modified the code we need to push the code up to the git repository.
Type the following in the terminal:
git commit -am"Updating timestamp in my cordova app"
git push- check the editor in the web client to see if the changes have been pushed. You will need to refresh the editor if you had it open. You can also access to the in browser preview to see your changes live without downloading the app.
Summary
In this lab we stepped through working with source code locally. Many developers find it easier to work with tools they are used too and a tool like git allows them to do that. We also modified a mobile app to communicate with our cloud app we previously modified. When you now type in the client app you will now receive a timestamp back from that cloud app.