Bring your own docker
It’s easy to get started with OpenShift whether you’re using our app templates or bringing your existing docker assets. In this quick lab we will deploy an application using an exisiting docker image. OpenShift will create an image stream for the image as well as deploy and manage containers based on that image. And we will dig into the details to show how all that works.
Let’s point OpenShift to an existing built docker image
Goto the terminal and type the following:```bash $ oc new-app sonatype/nexus:oss ```
The output should show something *similar* to below:```bash --> Found Docker image adffc23 (13 days old) from Docker Hub for "sonatype/nexus:oss" * An image stream tag will be created as "nexus:oss" that will track this image * This image will be deployed in deployment config "nexus" * Port 8081/tcp will be load balanced by service "nexus" * Other containers can access this service through the hostname "nexus" * This image declares volumes and will default to use non-persistent, host-local storage. You can add persistent volumes later by running 'volume dc/nexus --add ...' --> Creating resources ... imagestream.image.openshift.io "nexus" created deploymentconfig.apps.openshift.io "nexus" created service "nexus" created --> Success Application is not exposed. You can expose services to the outside world by executing one or more of the commands below: 'oc expose svc/nexus' Run 'oc status' to view your app. ```
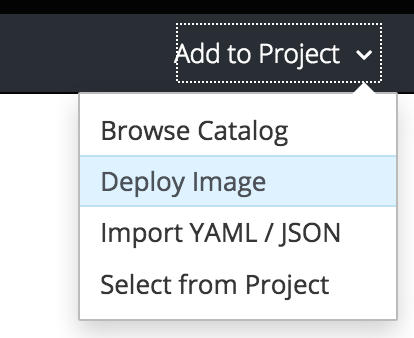
Click "Add to Project"

Select the "Deploy Image" option from the drop down
Select the option for "Image Name" and enter "sonatype/nexus:oss", then click the magnifying glass to the far right to search for the image.

Observe default values that are populated in the search results
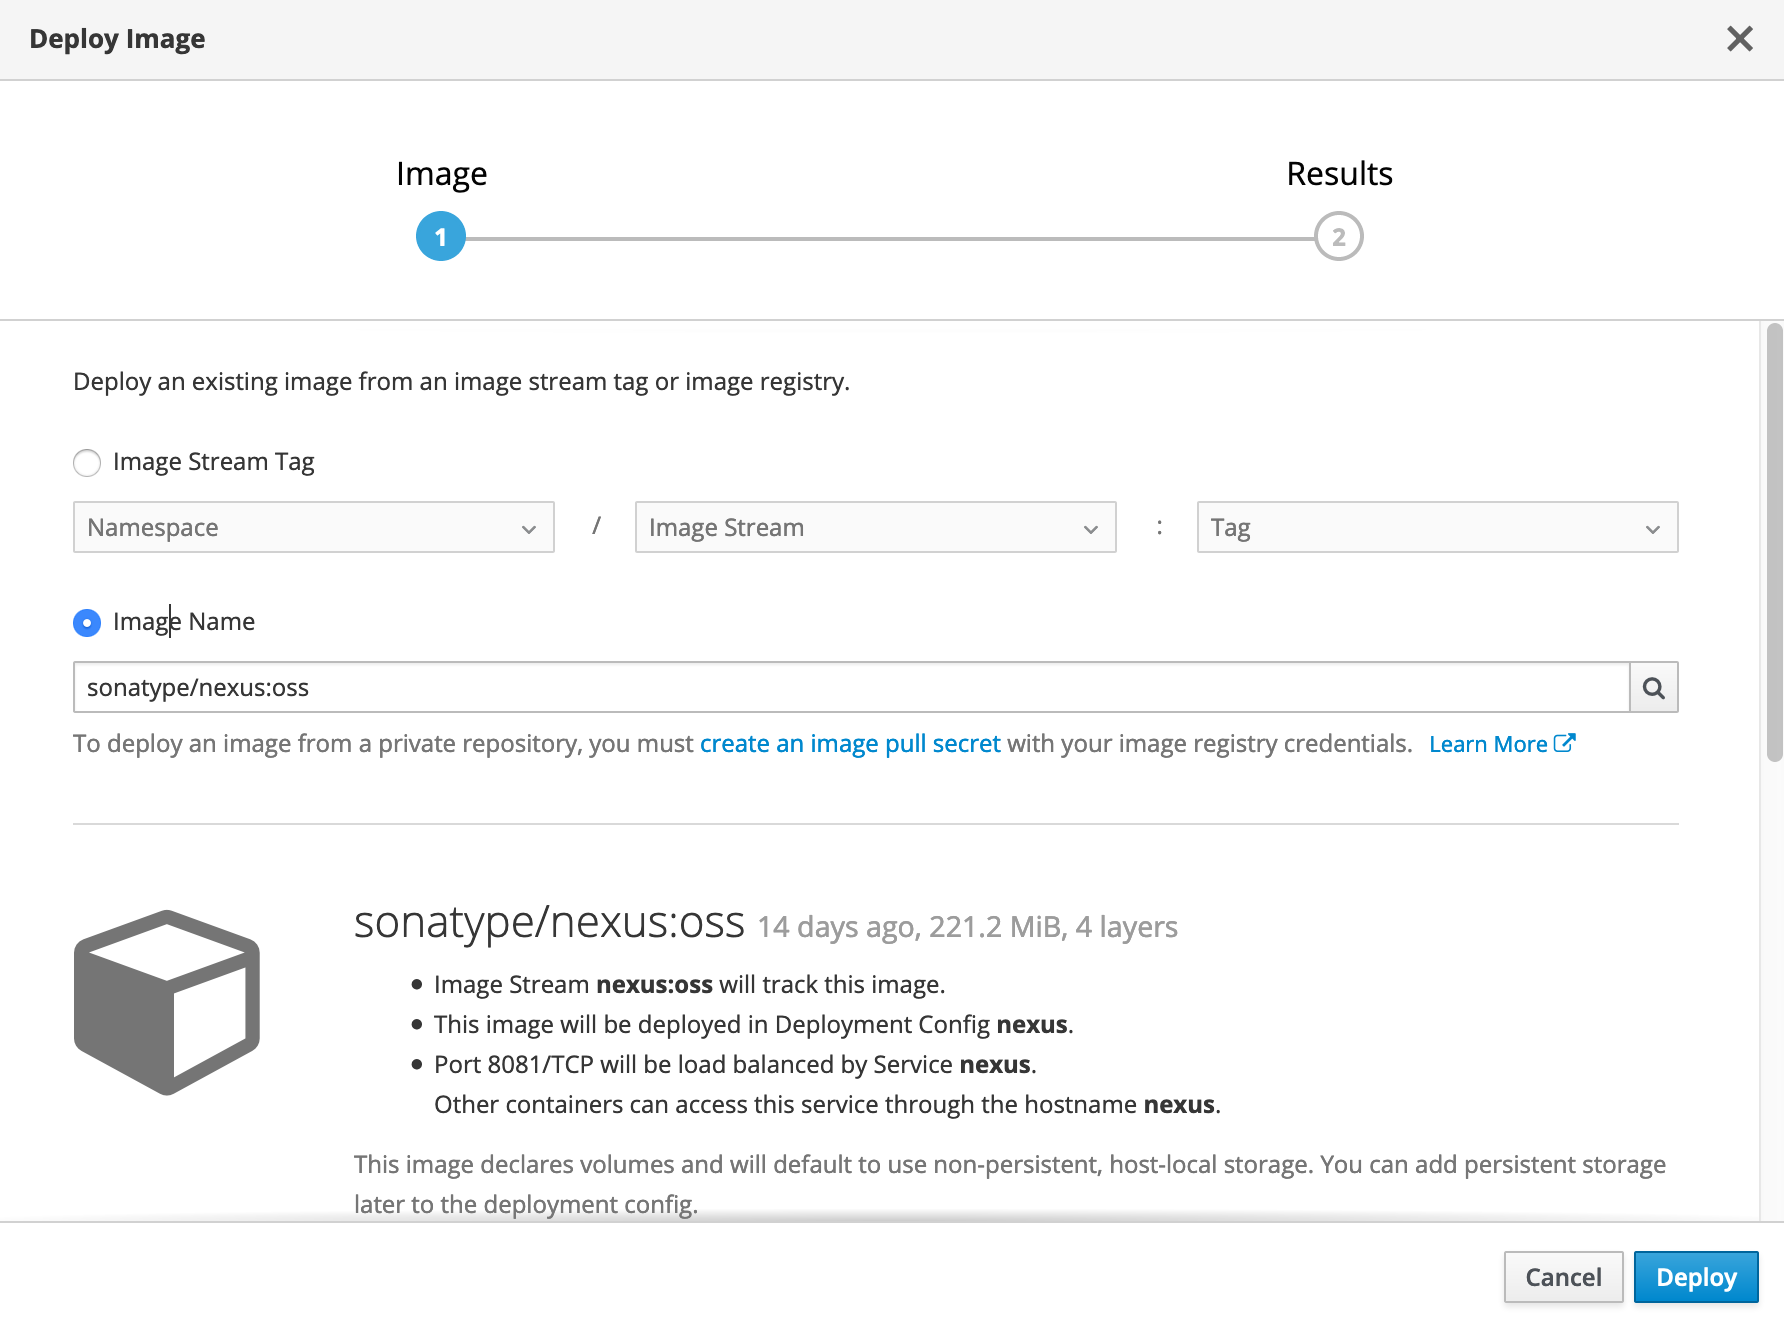
Click "Deploy" then click "Close"
We can browse our project details with the command line
Try typing the following to see what is available to ‘get’:
$ oc get all
Now let’s look at what our image stream has in it:
$ oc get is
$ oc describe is/nexus
An image stream can be used to automatically perform an action, such as updating a deployment, when a new image, in our case a new version of the nexus image, is created.
The app is running in a pod, let’s look at that:
$ oc describe pods
We can see those details using the web console too
Let’s look at the image stream.
Click on "Builds -> Images"
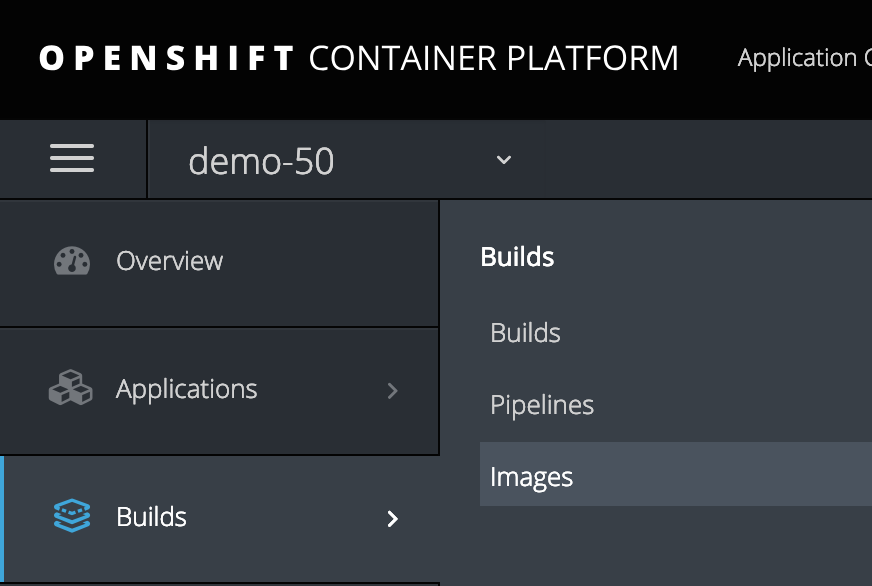
This shows a list of all image streams within the project.
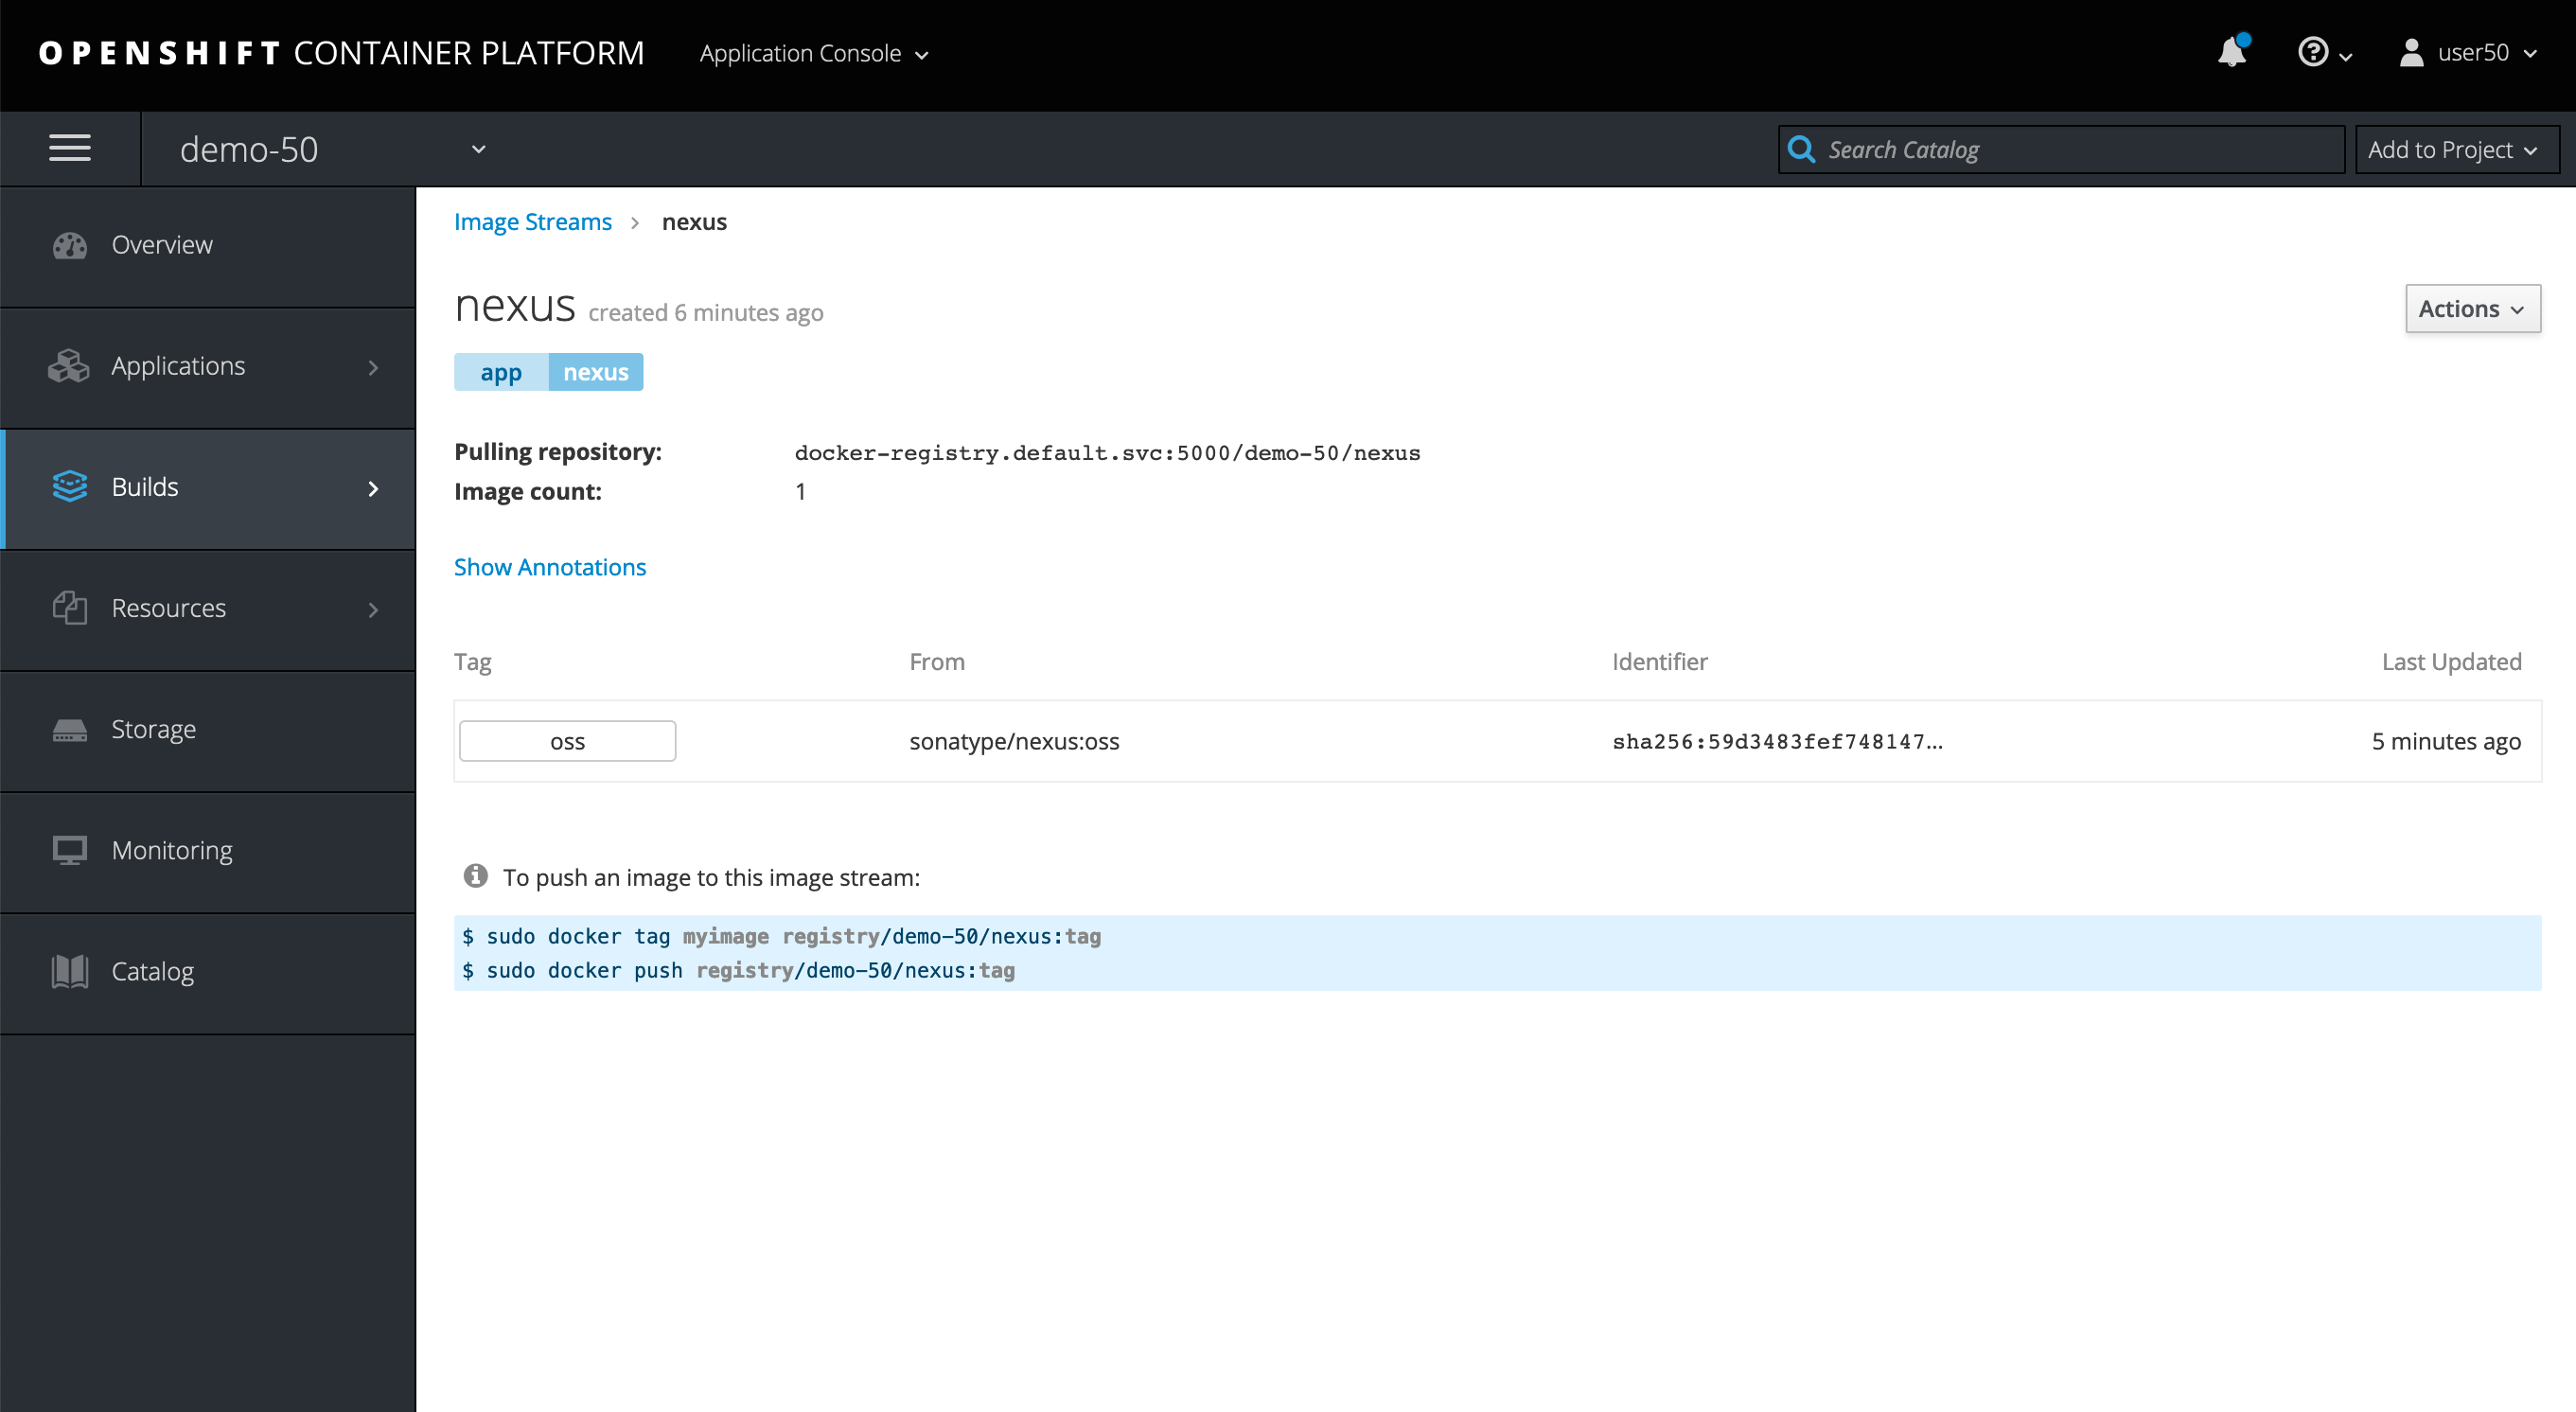
Now click on the "nexus" image stream
You should see something similar to this:
Does this nexus do anything?
Good catch, your service is running but there is no way for users to access it yet. We can fix that from the web console or the command line. You decide which you’d rather do from the steps below.
In the command line type this:
$ oc expose service nexus
"Overview"
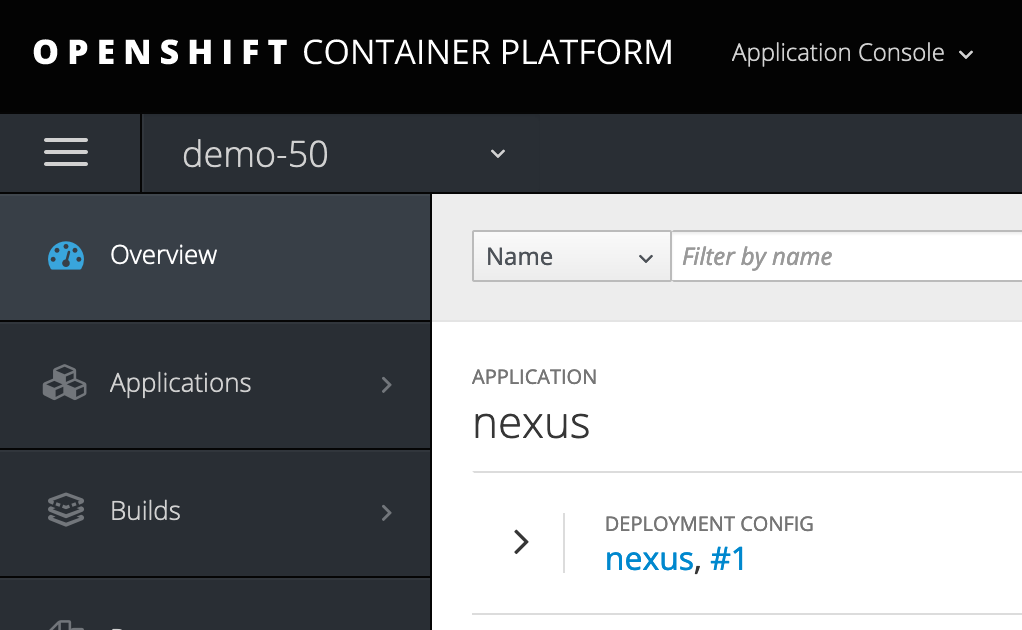
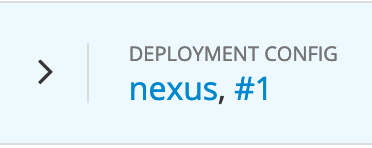
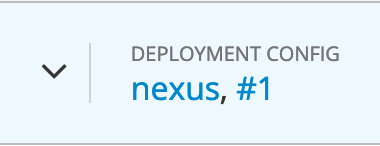
Select the arrow '>' next to 'nexus, #'
To get to this view
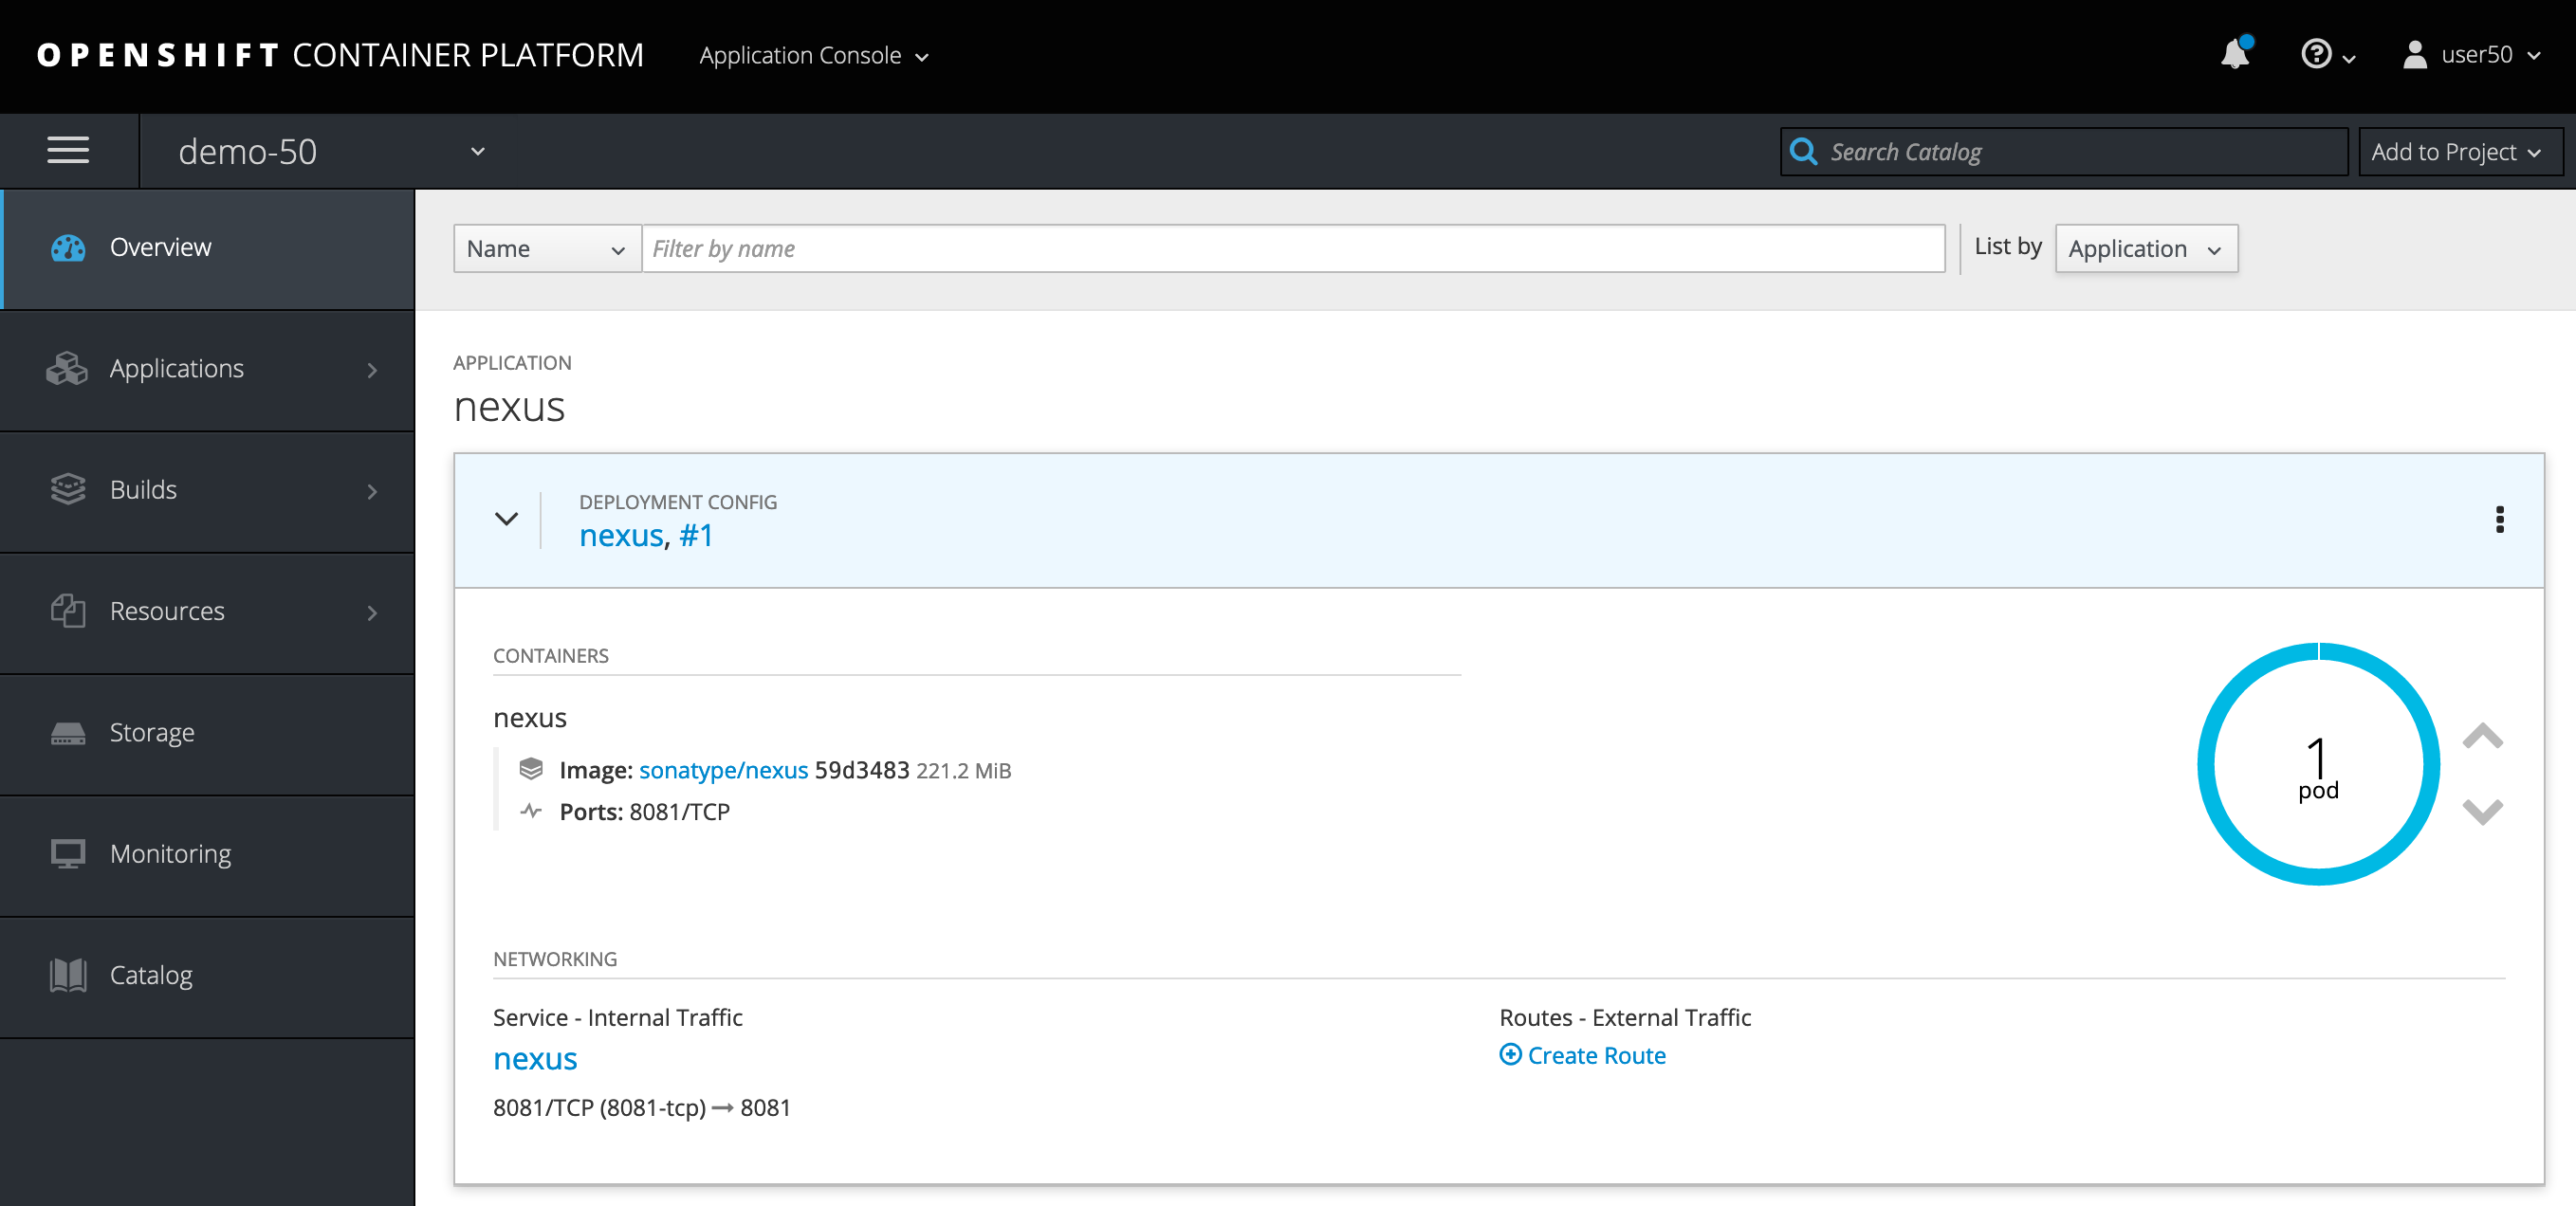
Notice there is no exposed route
Click on the "Create Route" link
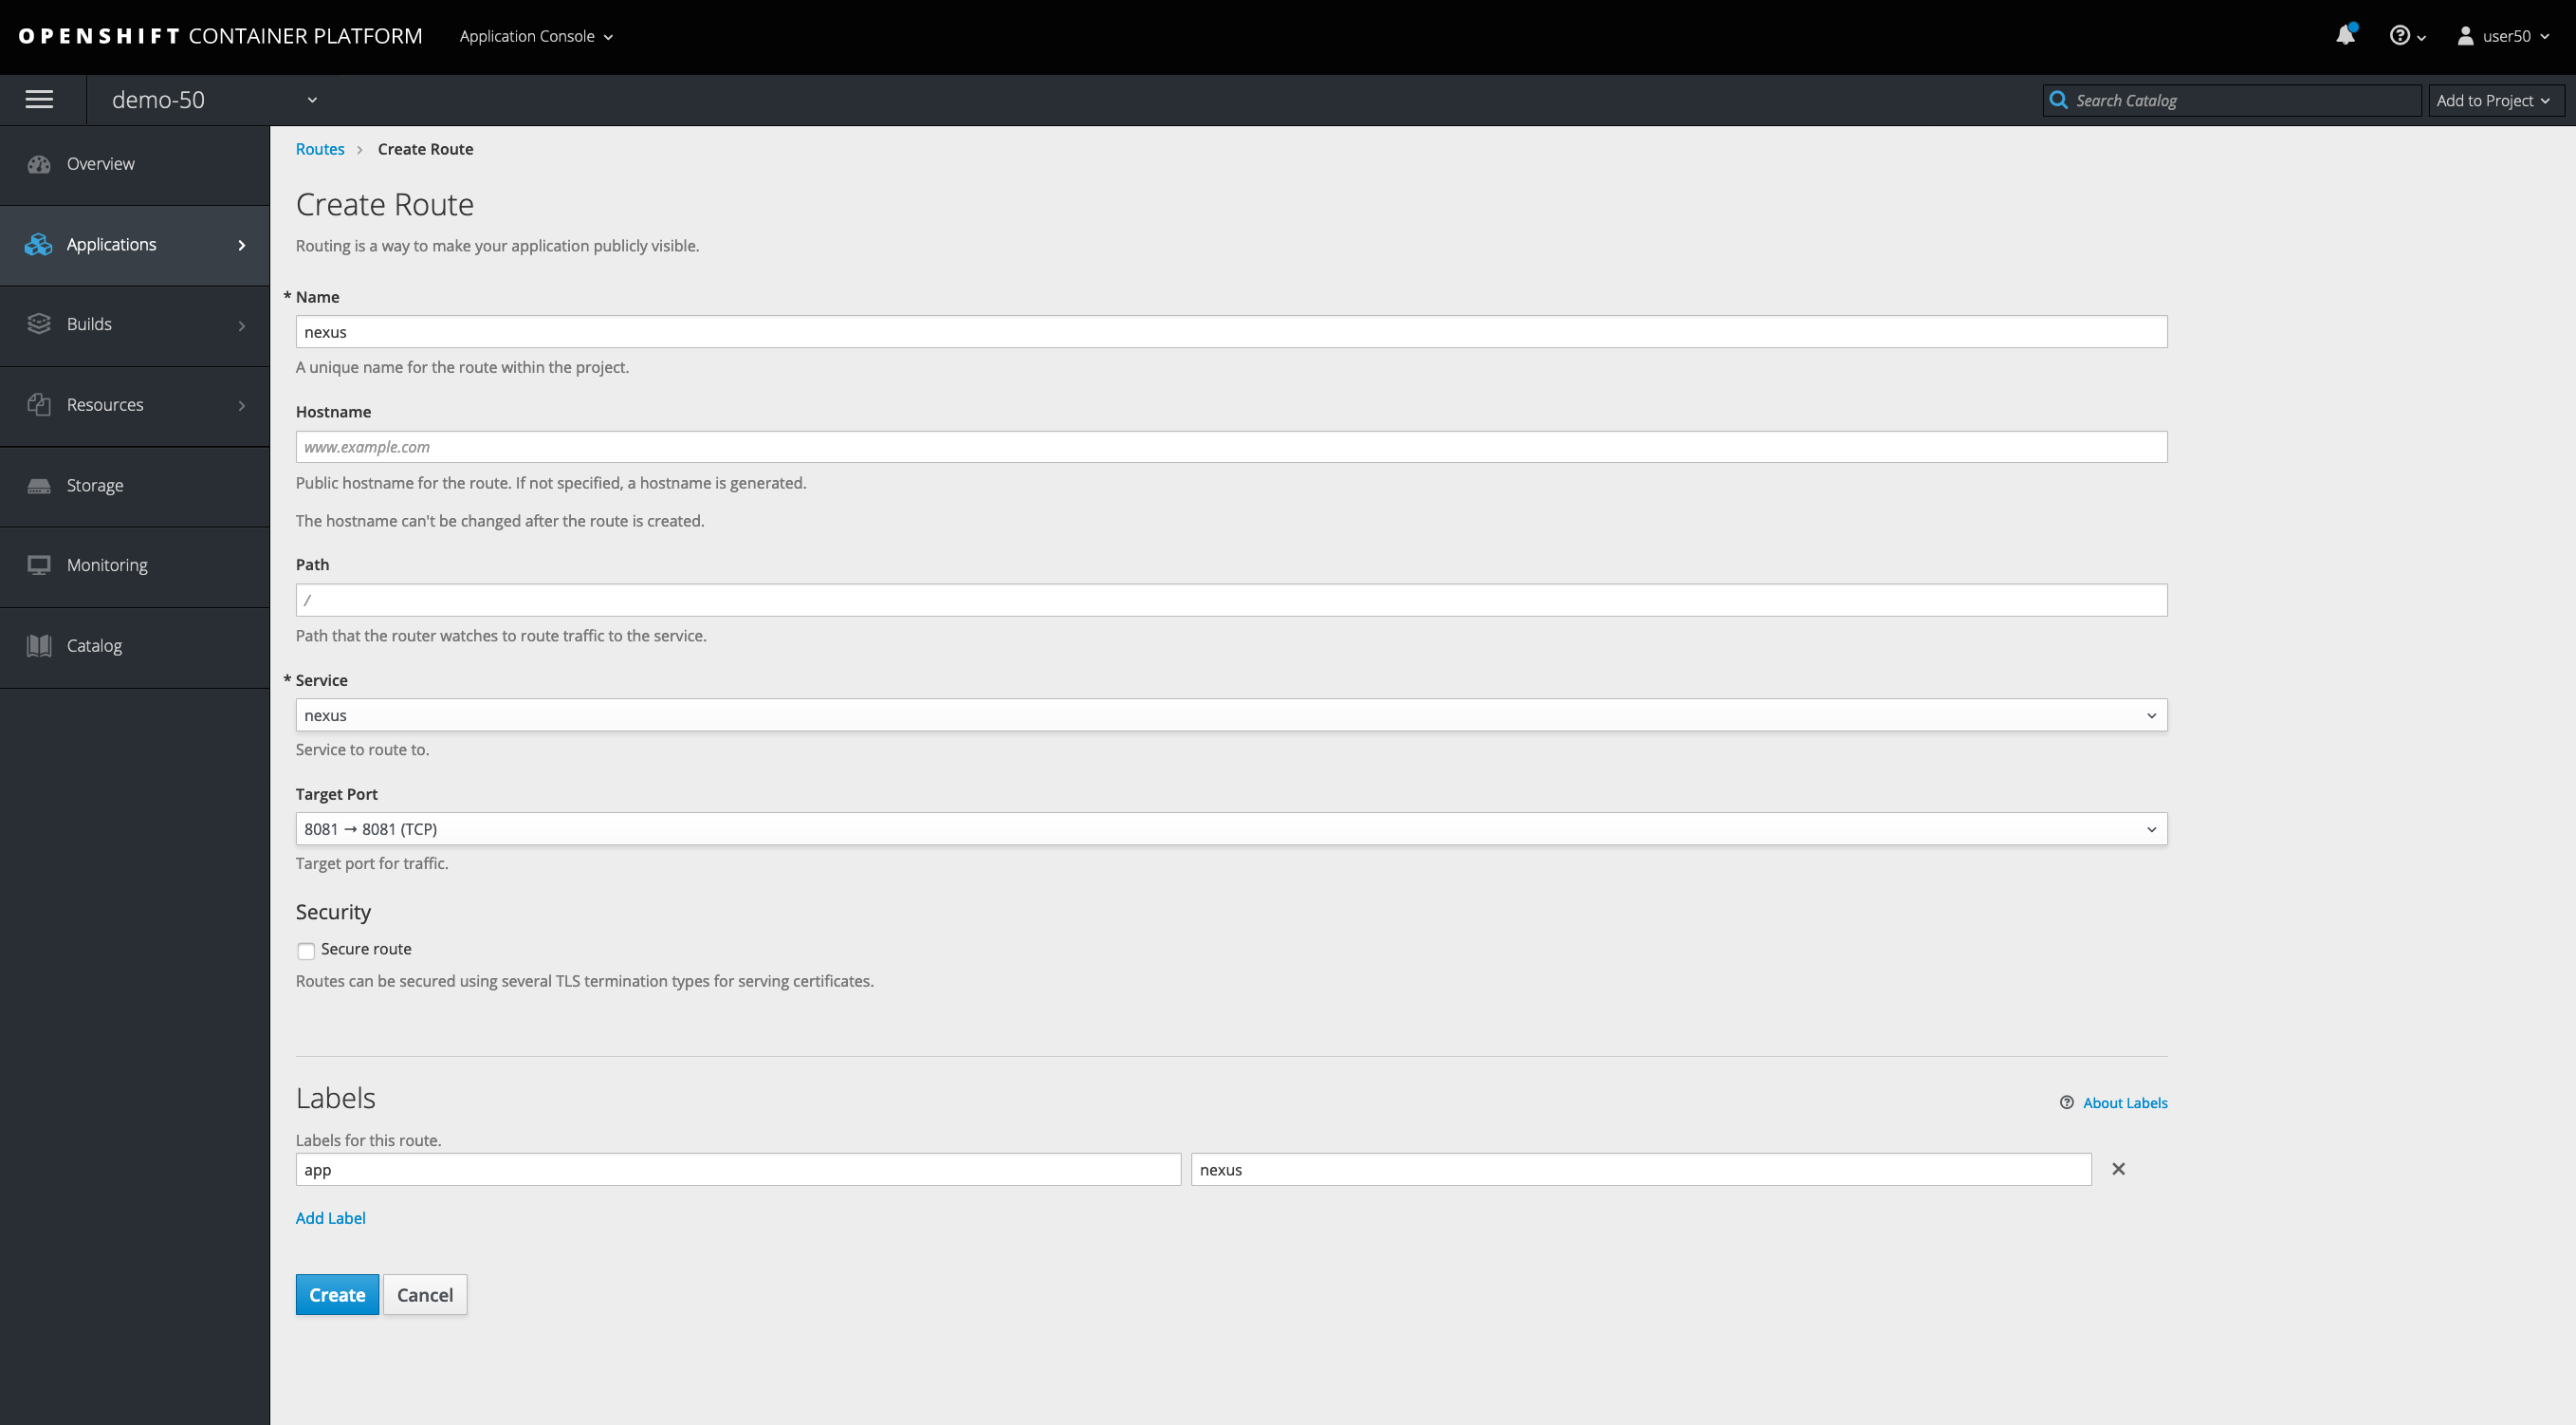
This is where you could specify route parameters, but we will just use the defaults.
Click "Create"
You can also create secured HTTPS routes, but that’s a topic for a more advanced workshop
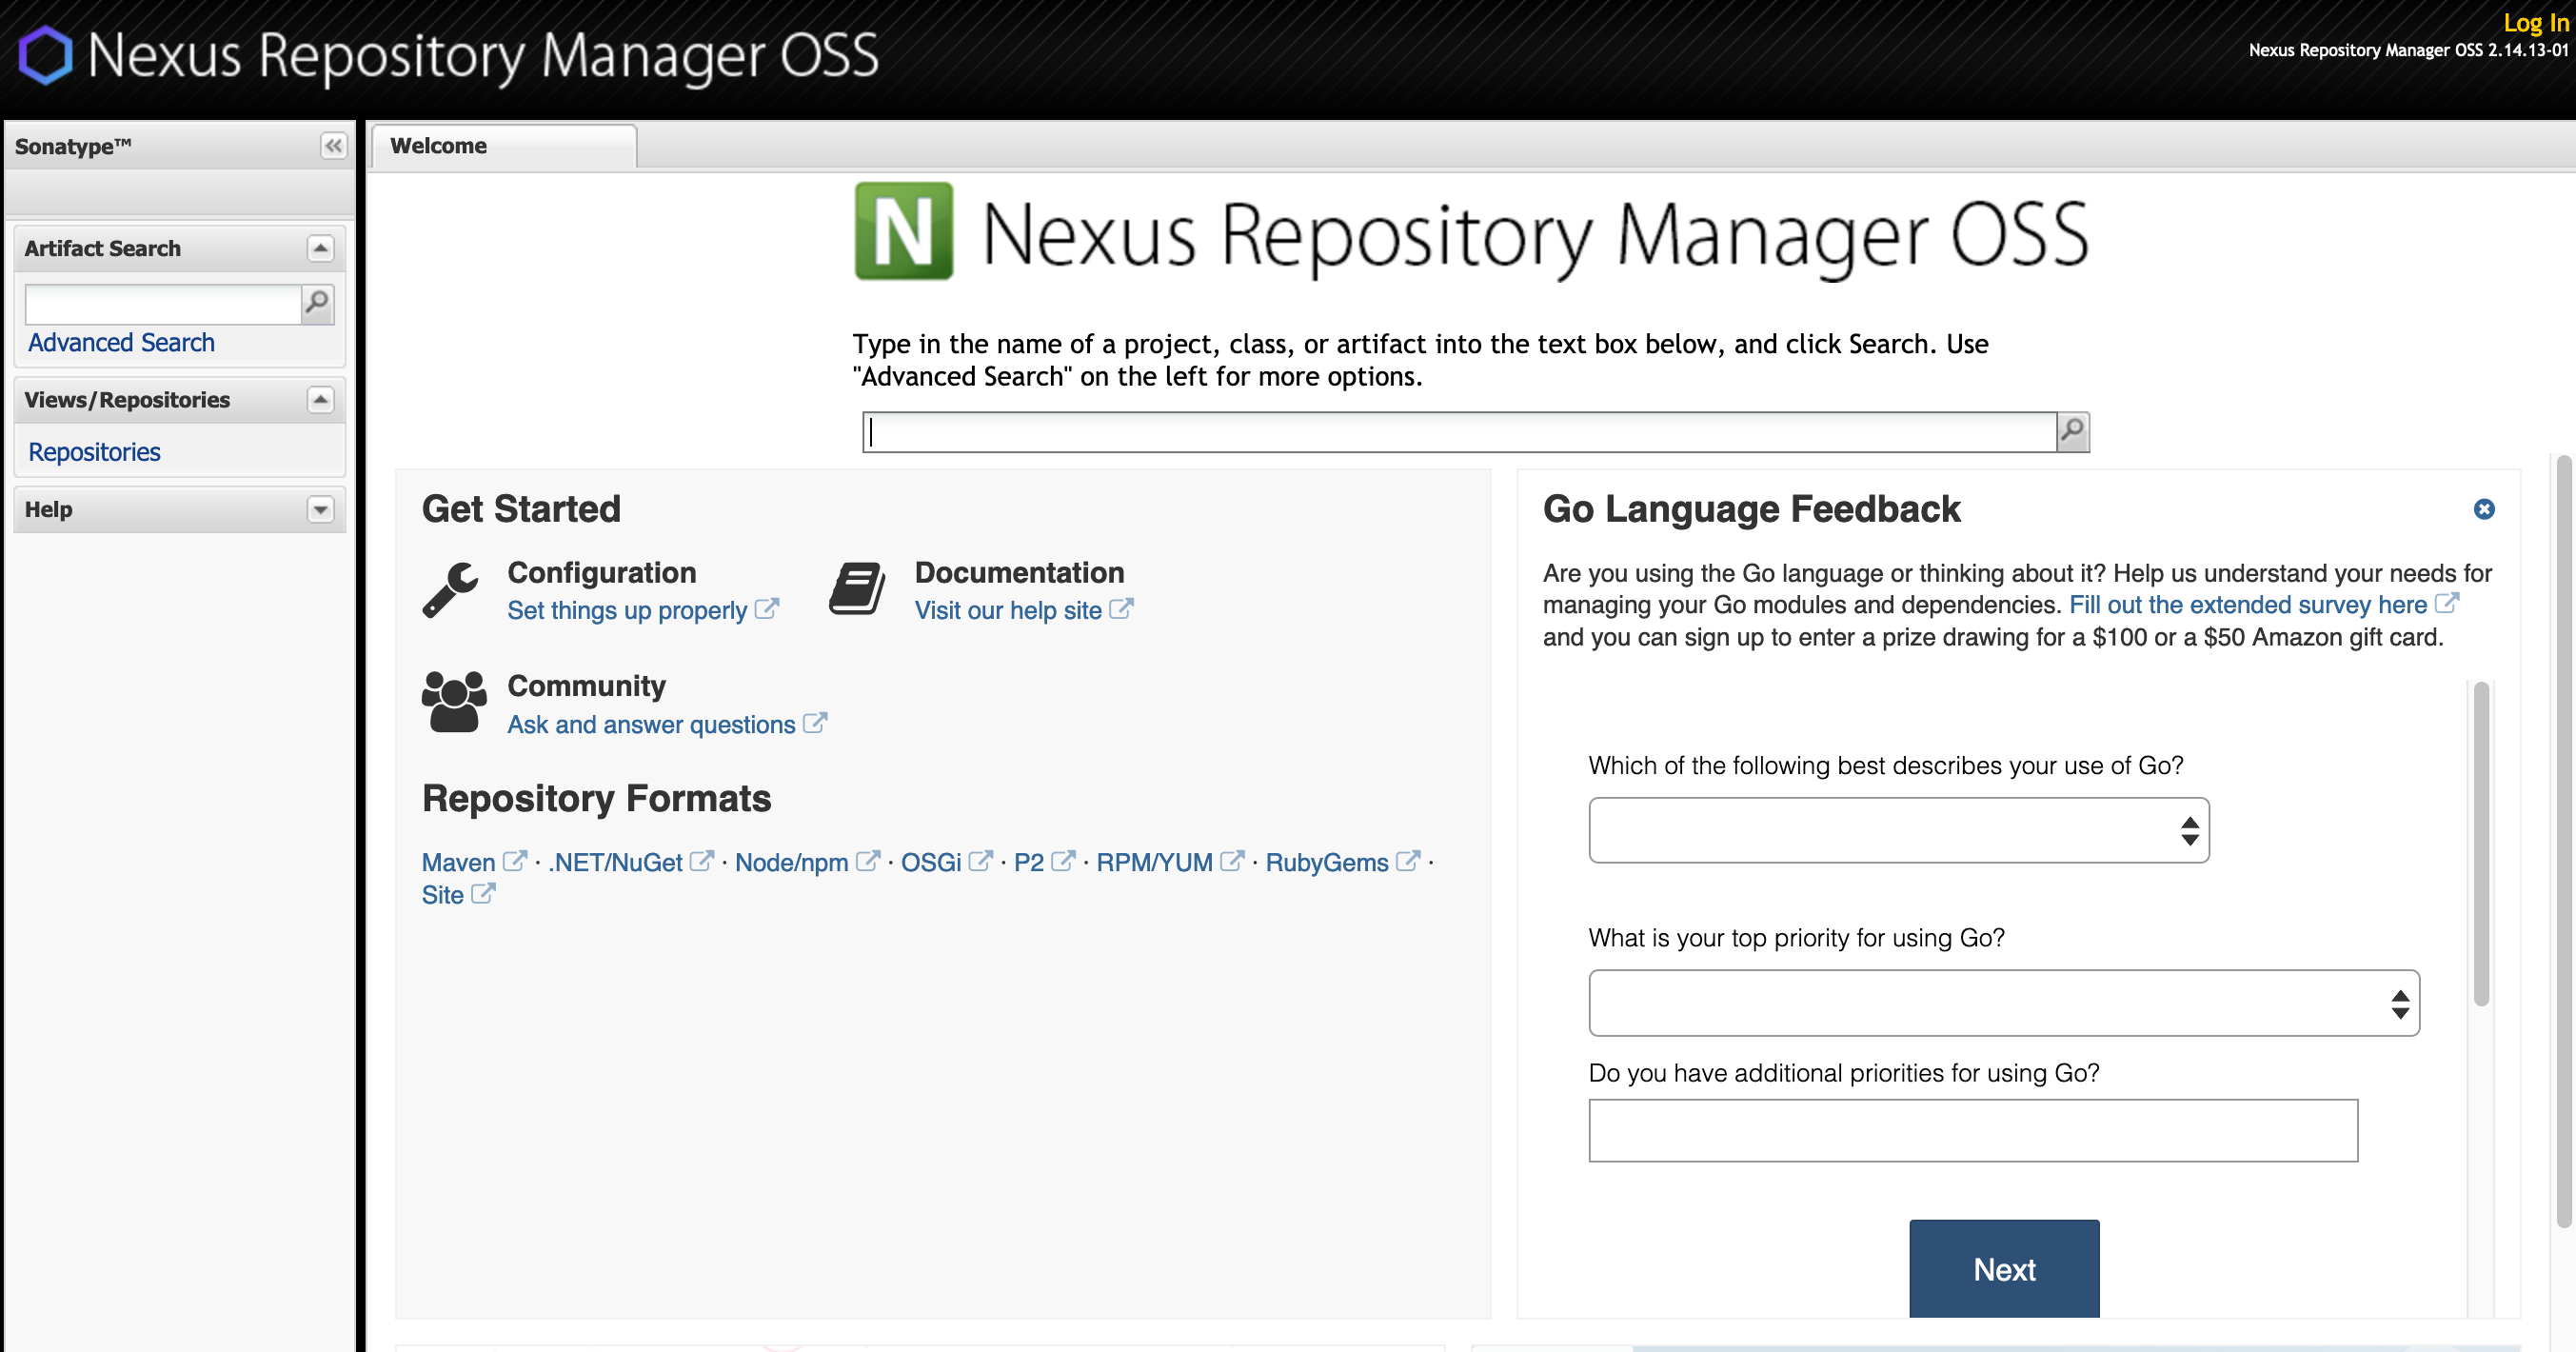
Test out the nexus webapp
Notice that in the web console overview, you now have a URL in the service box. There is no database setup, but you can see the webapp running by clicking the route you just exposed.
Click the link in the service box. You should see:

Good work - this error is expected; since the nexus console is on /nexus
Go to URL: http://nexus-demo-0.apps.example.redhatgov.io/nexus/ to get the Nexus console. Of course, we have not provided persistent storage; so, any and all work will be lost.
Let’s clean this up
Let’s clean up all this to get ready for the next lab:
$ oc delete all --all
Summary
In this lab you’ve deployed an example docker image, pulled from docker hub, into a pod running in OpenShift. You exposed a route for clients to access that service via thier web browsers. And you learned how to get and describe resources using the command line and the web console. Hopefully, this basic lab also helped to get you familiar with using the CLI and navigating within the web console.
Workshop Details
| Domain |
|
|
| Workshop | ||
| Student ID |
Workshop Details
| Domain |
|
|
| Workshop | ||
| Student ID |