cd /tmpExercise Description
In this exercise, we are going to get Ansible Tower installed on your control node
Installing Ansible Tower
Step 1: Change directories
Change directories to /tmp
Step 2: Download Red Hat Ansible Tower
Download the latest Ansible Tower package
curl -O http://releases.ansible.com/ansible-tower/setup/ansible-tower-setup-latest.tar.gzStep 3: Untar and unzip the package file
tar xvfz /tmp/ansible-tower-setup-latest.tar.gzStep 4: Change directories
Change directories into the Ansible Tower package
cd /tmp/ansible-tower-setup-*/Step 5: Open inventory file
Using an editor of your choice, open the inventory file
vim inventoryStep 6: Identify variables
Fill a few variables out in an inventory file: admin_password, pg_password, rabbitmq_password
[tower]
localhost ansible_connection=local

[database]

[all:vars]
admin_password='ansibleWS'

pg_host=''
pg_port=''

pg_database='awx'
pg_username='awx'
pg_password='ansibleWS'

rabbitmq_port=5672
rabbitmq_vhost=tower
rabbitmq_username=tower
rabbitmq_password='ansibleWS'
rabbitmq_cookie=cookiemonster

# Needs to be true for fqdns and ip addresses
rabbitmq_use_long_name=false
Step 7: Run setup
Run the Ansible Tower setup script
sudo ./setup.sh| Step 7 will take approx. 10-15 minutes to complete. This may be a good time to take a break. |
Step 8: Confirm results
At this point, your Ansible Tower installation should be complete. You can access your Tower (not forgetting that workshopname is the name of your workshop, and # is your student number) at:
example-tower0.example.redhatgov.ioEnsuring Installation Success
You know you were successful if you are able to browse to your Ansible Tower’s url (control node’s IP address) and get something like this
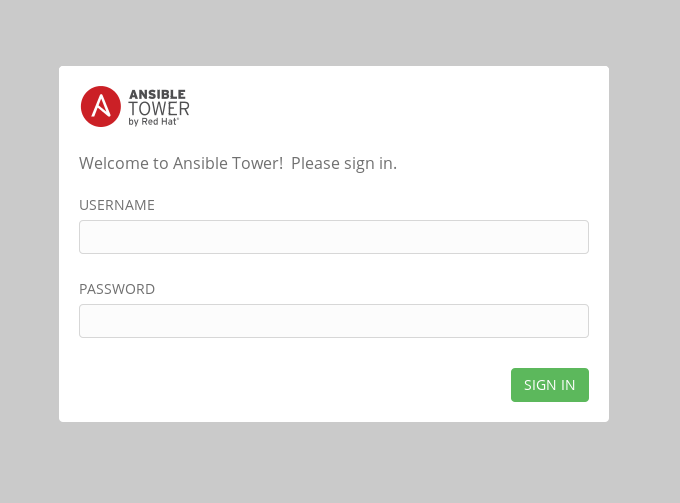
Figure 2: Ansible Tower Login Screen
Workshop Details
|
|
|
|
| Domain: |
|
|
| Workshop Name: | ||
| Region: | ||
| User ID: |