Building a Microservice
In the browser, navigate to the 'Profile' section in the header.
If you lost the URL, you can retrieve it via:
`echo $GATEWAY_URL`You should see the following:
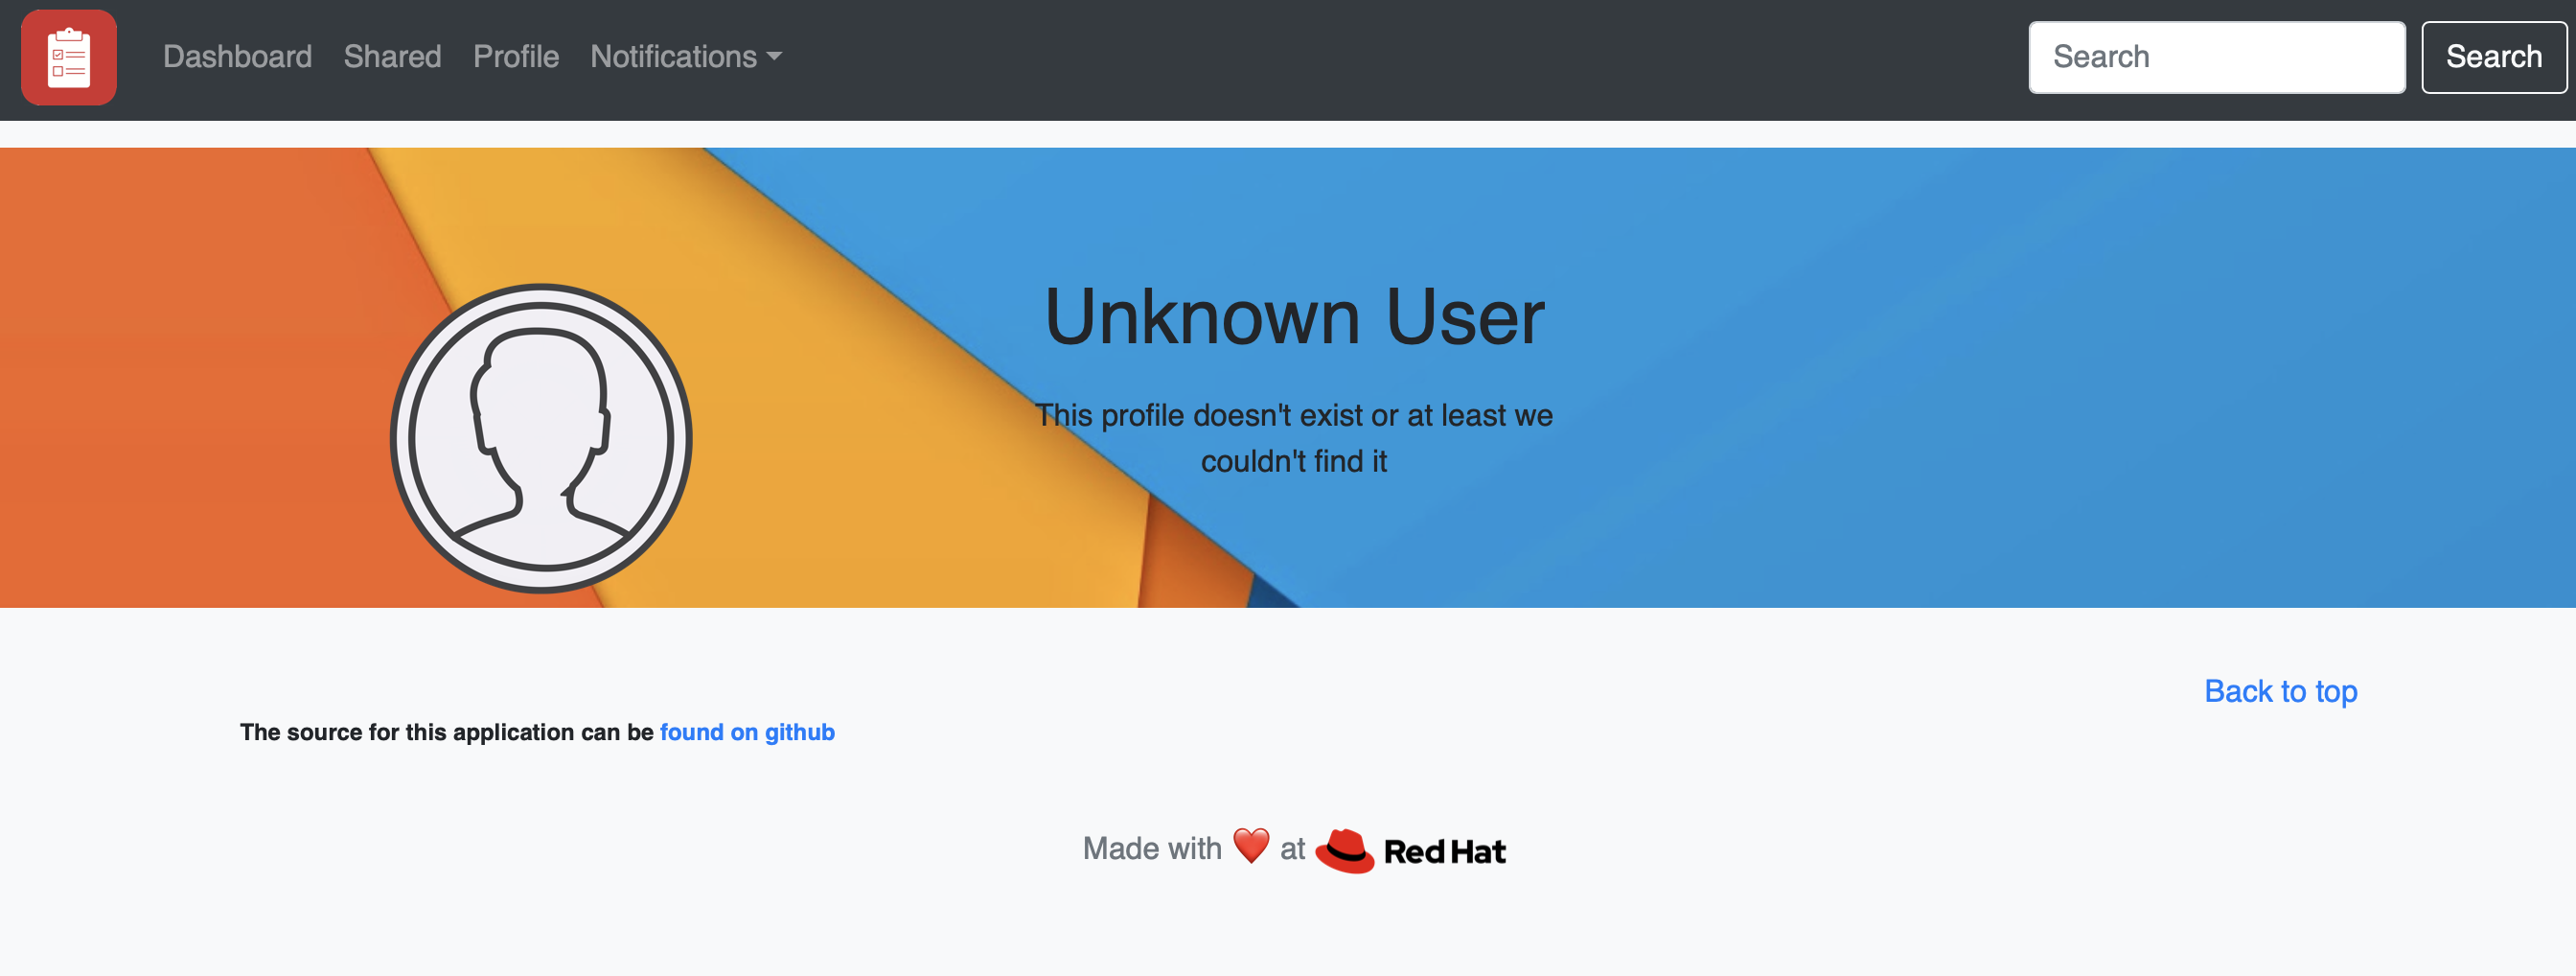
Unknown Profile Page
The UI shows an unknown user and that’s because there’s no profile service for your application. You are going to build a new microservice for user profiles and add this to your service mesh.
Application Code
Your new application is written in Java, whereas the other backend components such as ‘app-ui’ and ‘boards’ are written in NodeJS. One of the advantages of Istio is that it is agnostic to the programming languages of the running microservices.
Navigate to the 'UserProfile' class in your browser:
https://github.com/RedHatGov/openshift-microservices/blob/workshop-stable/code/userprofile/src/main/java/org/microservices/demo/json/UserProfile.java
Output (snippet):
...
    }
    public UserProfile(String id, String firstname, String lastname, String aboutme) {
        this.id = id;
        this.firstName = firstname;
        this.lastName = lastname;
        this.aboutMe = aboutme;
        this.createdAt = Calendar.getInstance().getTime();
    }
...
This class encapsulates information about the user such as the first and last name.
Your application also exposes a REST API to interact with the service.
Navigate to the 'UserProfileService' interface in your browser:
https://github.com/RedHatGov/openshift-microservices/blob/workshop-stable/code/userprofile/src/main/java/org/microservices/demo/service/UserProfileService.java
Output (snippet):
...
    /**
     * return a specific profile
     * @param id
     * @return the specified profile
     */
    UserProfile getProfile(@NotBlank String id);
...
This interface includes the REST methods for getting and setting user profile information.
Build Application
You are ready to build the application.
Use a BuildConfig to build the application image. A ‘BuildConfig’ template was already created for you.
Verify the base image used to build the application:
cat ./openshift-configuration/userprofile-build.yaml | grep -A 4 sourceStrategy
Output (snippet):
      sourceStrategy:
        from:
          kind: ImageStreamTag
          name: java:11
          namespace: openshift
Notice the build uses a base Java image to build the application.
Create the build:
oc new-app -f ./openshift-configuration/userprofile-build.yaml \
  -p APPLICATION_NAME=userprofile \
  -p APPLICATION_CODE_URI=https://github.com/RedHatGov/openshift-microservices.git \
  -p APPLICATION_CODE_BRANCH=workshop-stable \
  -p APP_VERSION_TAG=1.0
Start the build:
oc start-build userprofile-1.0
Follow the build:
oc logs -f bc/userprofile-1.0
The builder will compile the source code and use the base image to create your deployable image artifact. You should eventually see a successful build.
Output (snippet):
...
[INFO] ------------------------------------------------------------------------
[INFO] BUILD SUCCESS
[INFO] ------------------------------------------------------------------------
[INFO] Total time:  01:35 min
[INFO] Finished at: 2020-02-19T21:00:22Z
[INFO] ------------------------------------------------------------------------
...
Once the build is complete, the image is stored in the OpenShift local repository.
Verify the image was created:
oc get is userprofile
Output:
NAME          IMAGE REPOSITORY                                                                  TAGS     UPDATED
userprofile   image-registry.openshift-image-registry.svc:5000/microservices-demo/userprofile   1.0   3 minutes ago
Workshop Details
| Domain |
|
|
| Workshop | ||
| Student ID |
Workshop Details
| Domain |
|
|
| Workshop | ||
| Student ID |