Lab 5
API Security
Securing APIs with OpenID Connect and Red Hat Single Sign On
- Duration: 20 mins
- Audience: API Owners, Product Managers, Developers, Architects
<img src="../images/agenda-05.png “Login” width=“900” />
Overview
Once you have APIs in your organization and have applications being written, you also want to be sure in many cases that the various types of users of the APIs are correctly authenticated. In this lab you will discover how to set up the widely used OpenID connect pattern for Authentication.
Why Red Hat?
The Red Hat SSO product provides important functionality for managing identities at scale. In this lab you will see how it fits together with 3scale and OpenShift.
##Lab Instructions
Step 1: Get Red Hat Single Sign On Service Account Credentials
-
Open a browser window and navigate to your SSO Console. Please check with your instructor for the link. It should be similar to the following. Replace userX with your assigned user and OCP_URL.
http://sso-sso.apps.[OCP_URL]/auth/admin/[userX]/console/Remember to replace the X with your user number.
-
Log into Red Hat Single Sign On using your designated user and password. Click on Sign In.
<img src="../images/00-login-sso.png “RH SSO Login” width=“900” /> -
Select Clients from the left menu.
<img src="../images/00-clients.png “Clients” width=“900” />A 3scale-admin client and service account was already created for you.
-
Click on the 3scale-admin link to view the details.
<img src="../images/00-3scale-admin.png “3scale admin account”" width=“900” /> -
Click the Credentials tab.
<img src="../images/00-sa-credentials.png “Service Account Credentials”" width=“900” /> -
Take notice of the service account Secret. Copy and save it or write it down as you will use it to configure 3scale.
<img src="../images/00-sa-secret.png “Service Account Secret”" width=“900” />
Step 2: Add User to Realm
-
Click on the Users menu on the left side of the screen.
<img src="../images/00-users.png “Users Menu”" width=“900” /> -
Click the Add user button.
<img src="../images/00-add-user.png “Add User”" width=“900” /> -
Type apiuser as the Username.
<img src="../images/00-username.png “User Details”" width=“900” /> -
Click on the Save button.
-
Click on the Credentials tab to reset the password. Type apipassword as the New Password and Password Confirmation. Turn OFF the Temporary to avoid the password reset at the next login.
<img src="../images/00-user-credentials.png “User Credentials”" width=“900” /> -
Click on Reset Password.
-
Click on the Change password button in the pop-up dialog.
<img src="../images/00-change-password.png “Change Password Dialog”" width=“900” />Now you have a user to test your integration.
Step 3: Configure 3scale Integration
-
Open a browser window and navigate to:
https://userX-admin.apps.ocp-ai.redhatgov.io/p/loginRemember to replace the X with your user number.
-
Accept the self-signed certificate if you haven’t.
-
Log into 3scale using your designated user and password. Click on Sign In.
-
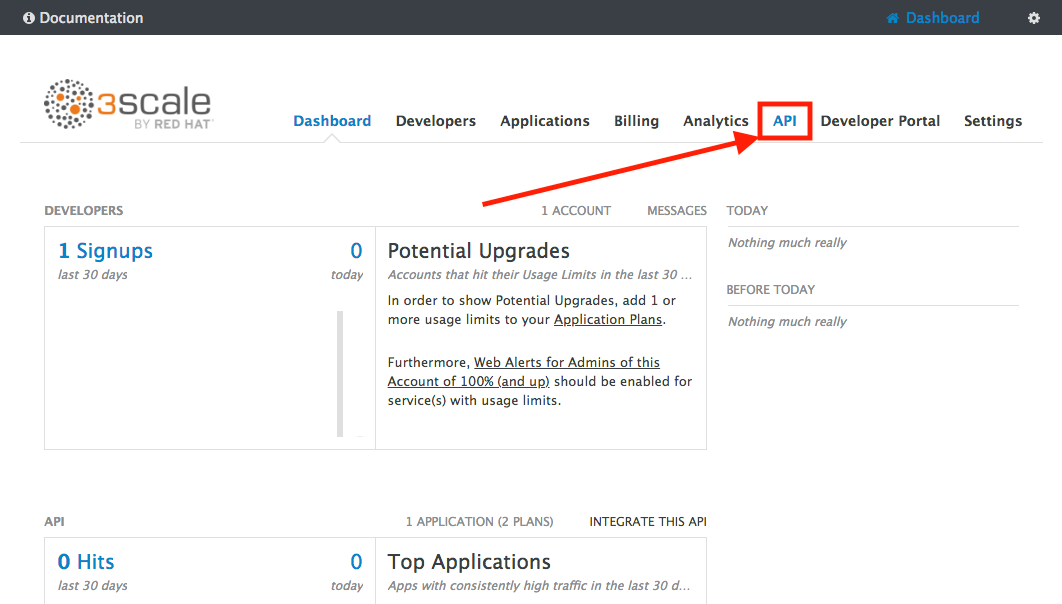
The first page you will land is the API Management Dashboard. Click on the API menu link.
-
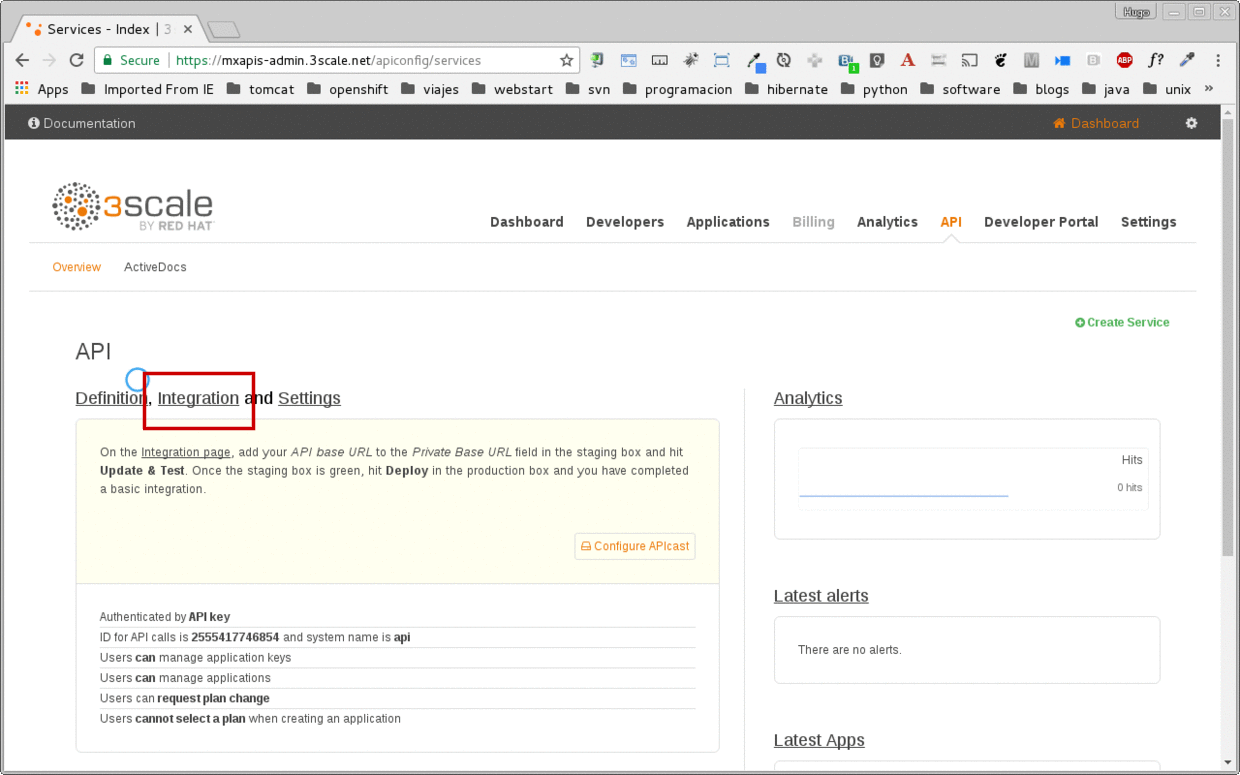
This is the API Overview page. Here you can take an overview of all your services. Click on the Integration link.
-
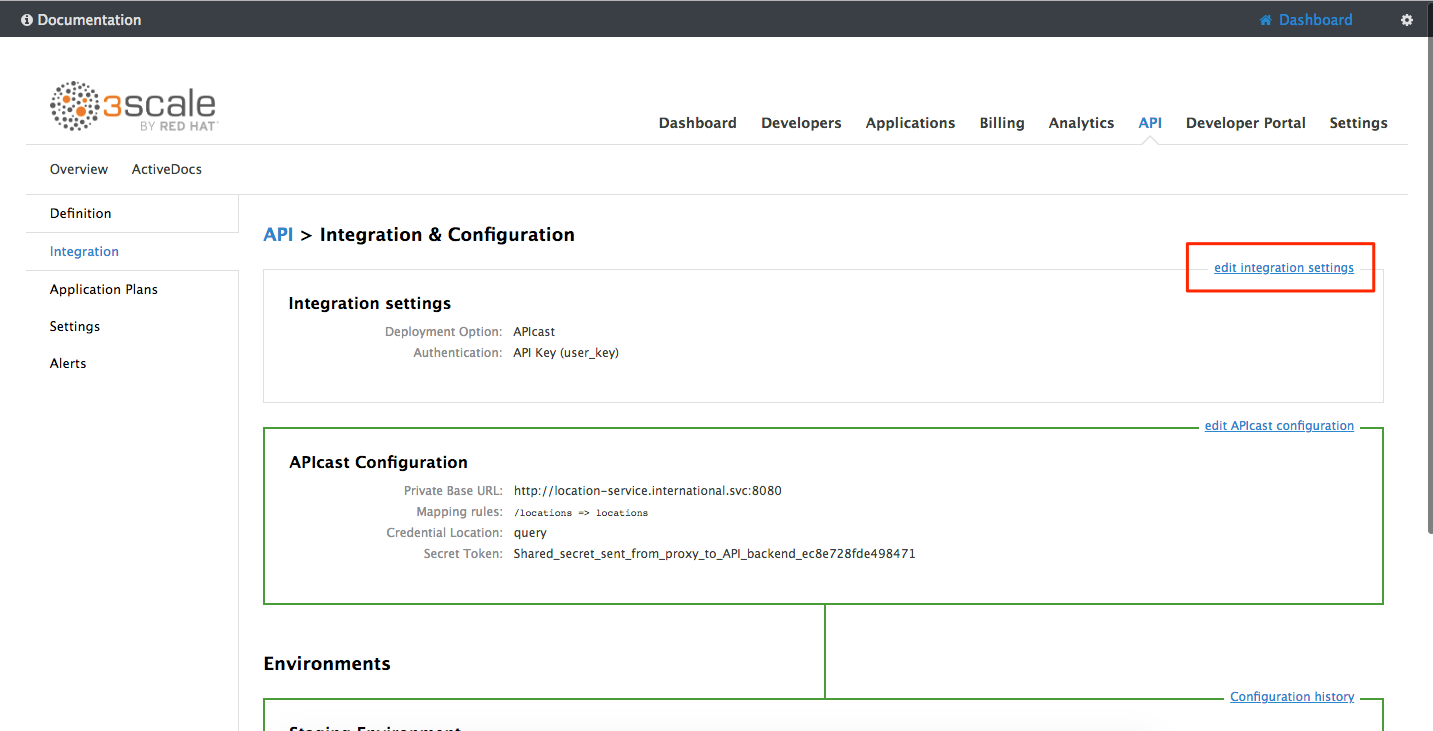
Click on the edit integration settings to edit the API settings for the gateway.
-
Scrolll down the page, under the Authentication deployment options, select OpenID Connect.
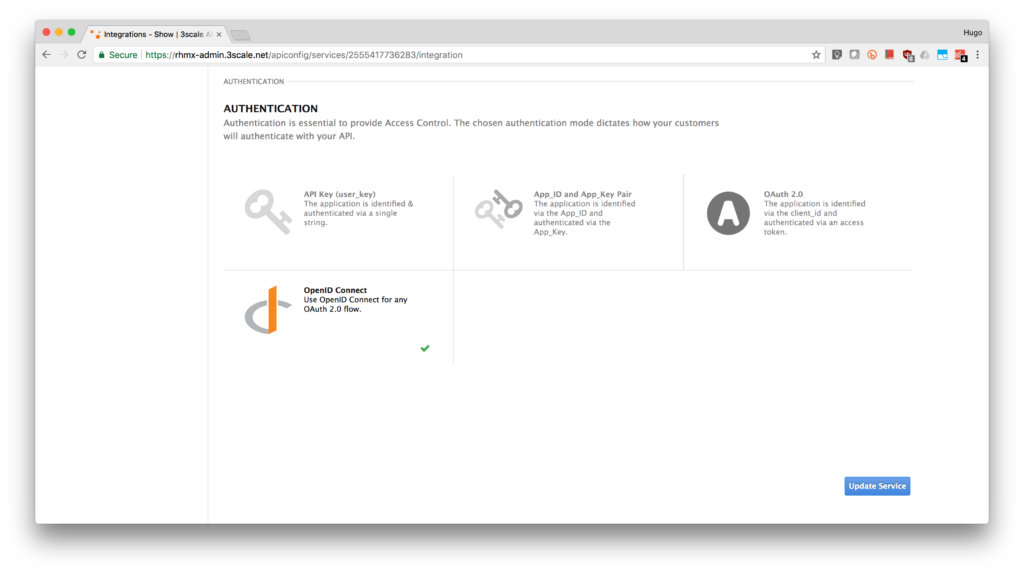
-
Click on the Update Service button.
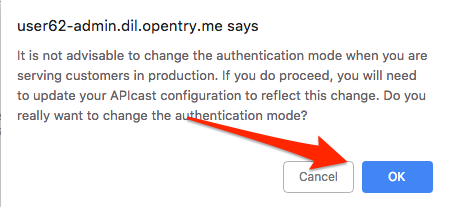
-
Dismiss the warning about changing the Authentication mode by clicking OK.
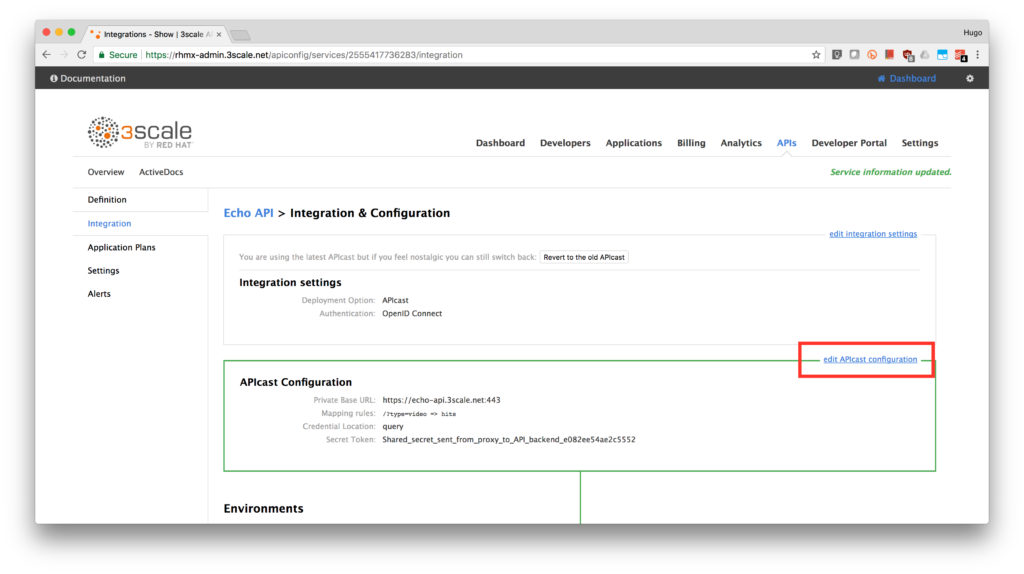
-
Back in the service integration page, click on the edit APIcast configuration.
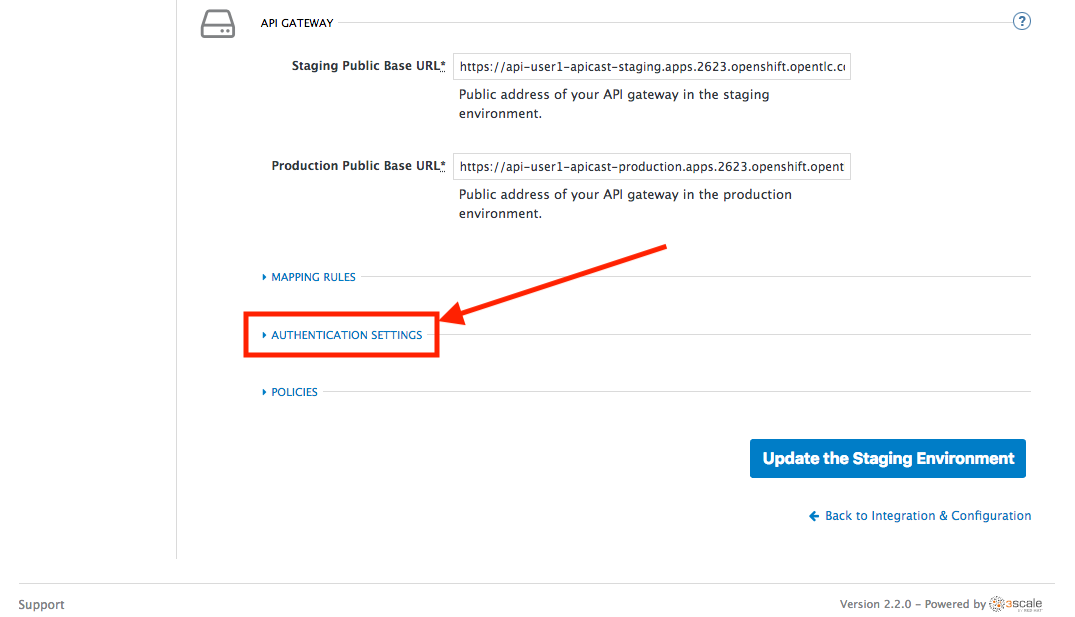
-
Scroll down the page and expand the authentication options by clicking the Authentication Settings link.
-
In the OpenID Connect Issuer field, type in your previously noted client credentials with the URL of your Red Hat Single Sing On instance:
http://3scale-admin:CLIENT_SECRET@sso-sso.apps.ocp-ai.redhatgov.io/auth/realms/userXRemember to replace the X with user number
<img src="../images/06-openid-issuer.png “OpenID Connect Issuer”" width=“900” /> -
Scroll down the page and click on the Update Staging Environment button.
<img src="../images/08-back-integration.png “Back Integration”" width=“900” /> -
After the reload, scroll down again and click the Back to Integration & Configuration link.
<img src="../images/07-update-environment.png “Update Environment”" width=“900” /> -
Promote to Production by clicking the Promote to Production button.
<img src="../images/08a-promote-production.png “Update Environment”" width=“900” />
Step 4: Create a Test App
-
Go to the Developers tab and click on Developers.
<img src="../images/09-developers.png “Developers”) -
Click on the Applications link.
<img src="../images/10-applications.png “Applications”" width=“900” /> -
Click on Create Application link.
<img src="../images/11-create-application.png “Create Application”" width=“900” /> -
Select Basic plan from the combo box. Type the following information:
- Name: Secure App
- Description: OpenID Connect Secured Application
<img src="../images/12-application-details.png “Application Details”" width=“900” /> -
Finally, scroll down the page and click on the Create Application button.
<img src="../images/13-create-app.png “Create App”" width=“900” /> -
Update redirect link to your locations application link.
- Please update userX and OCP_URL http://www-[userX].apps.[OCP_URL]/
- And note the API Credentials. Write them down as you will need the Client ID and the Client Secret to test your integration.
<img src="../images/14-app-credentials.png “App Credentials”" width=“900” />
Congratulations! You have now an application to test your OpenID Connect Integration.
Steps Beyond
So, you want more? Login to the Red Hat Single Sign On admin console for your realm if you are not there already. Click on the Clients menu. Now you can check that 3scale zync component creates a new Client in SSO. This new Client has the same ID as the Client ID and Secret from the 3scale admin portal.
Summary
Now that you can secure your API using three-leg authentication with Red Hat Single Sign-On, you can leverage the current assets of your organization like current LDAP identities or even federate the authentication using other IdP services.
For more information about Single Sign-On, you can check its page.