Exercise Description
In this exercise, we are going to configure Red Hat Ansible Tower, so that we can run a playbook.
There are a number of constructs in the Ansible Tower UI that enable multi-tenancy, notifications, scheduling, etc. However, we are only going to focus on the key concepts required for this workshop today.
-
Credentials
-
Projects
-
Inventory
-
Job Template
Section 1: Logging into Ansible Tower and installing the license key
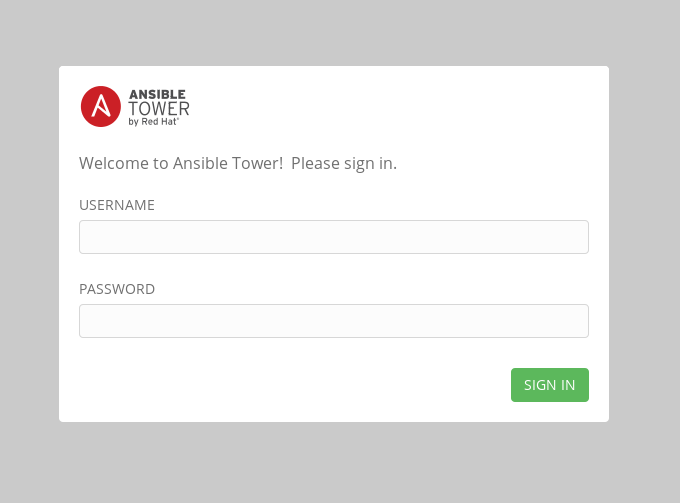
Step 1: Log in
To log in, use the username admin and and the password provided by your instructor.
Figure 3: Ansible Tower Login Screen
Section 2: Review credentials
Credentials are utilized by Ansible Tower for authentication when launching jobs against machines, synchronizing with inventory sources, and importing project content from a version control system.
There are many types of credentials including machine, network, and various cloud providers. In this workshop, we are using a machine credential.
Step 1: View Available Credentials
Select CREDENTIALS, from the left-side menu bar. ![]()
You will see a lit of credentials, like the following:
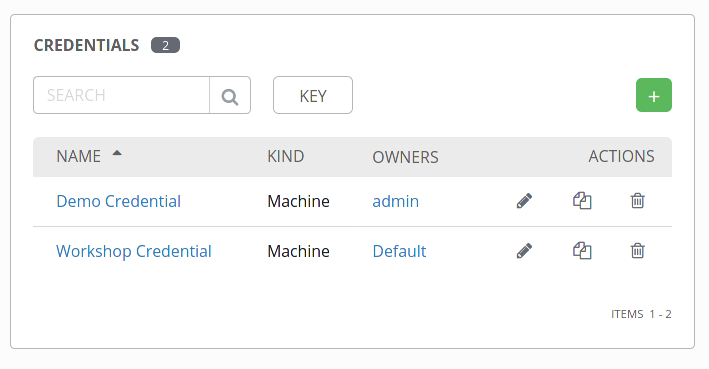
Figure 4: Ansible Tower Credentials
Step 2: View credential attributes
Click the pencil icon ![]() to access the details of the
to access the details of the Workshop Credential credential. Redundant, aren’t we?
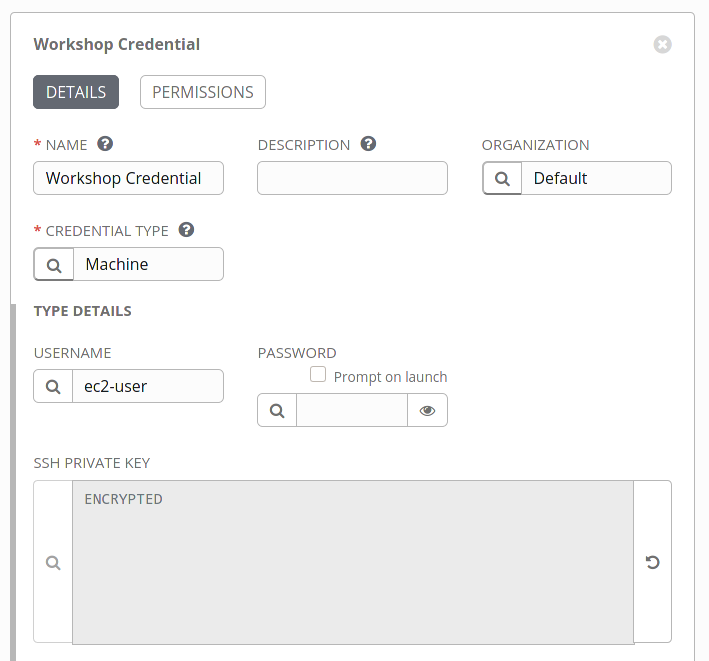
Figure 5: Reviewing a Credential
Step 3: Cancel
Scroll down, and review the rest of the credential data:
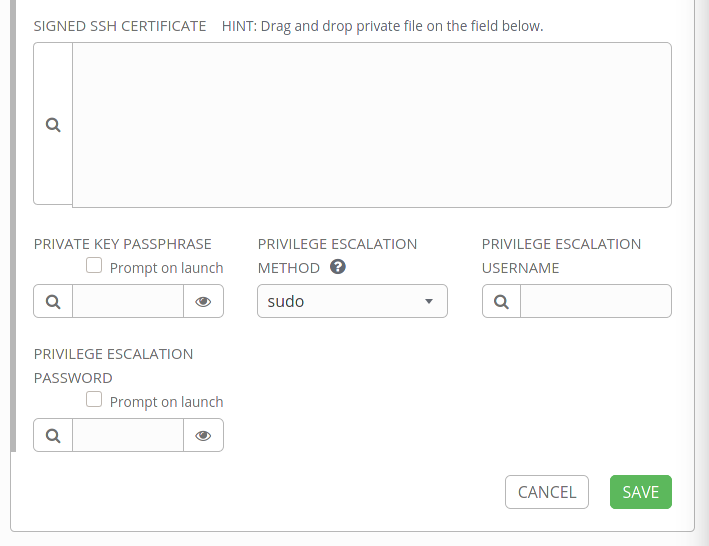
Figure 6: Reviewing a Credential, continued
Select  to exit.
Section 3: Reviewing a Project
A Project is a logical collection of Ansible playbooks, represented in Ansible Tower. You can manage playbooks and playbook directories, by either placing them manually under the Project Base Path on your Ansible Tower server, or by placing your playbooks into a source code management (SCM) system supported by Ansible Tower, including Git, Subversion, and Mercurial.
Step 1: Open a project
Select ![]() from the left-side menu.
from the left-side menu.
Step 2: Review the list of projects
Review the list of projects, and then click on Ansible Workshop Project, to see what it contains:
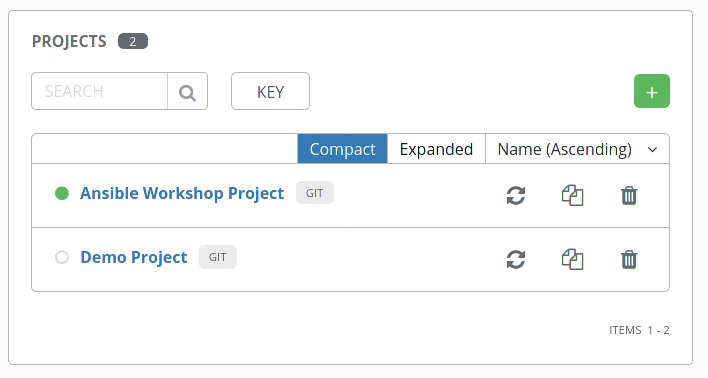
Figure 7: Project List
Step 3: View the Project Form
Review the details of the project:

Figure 8: Reviewing a Project
Step 4: Cancel
Select to exit.
Section 4: Reviewing an Inventory
An inventory is a collection of hosts, against which jobs may be launched. Inventories are divided into groups and these groups contain the actual hosts.
Groups may be sourced manually, by entering host names into Ansible Tower, or from one of Ansible Tower’s supported cloud providers.
An Inventory can also be imported into Ansible Tower using the tower-manage command. This is how we are going to add an inventory for this workshop.
Step 1: Navigate to Inventories main link
Select ![]() from the left-side menu.
from the left-side menu.
Step 2: Review the inventory list
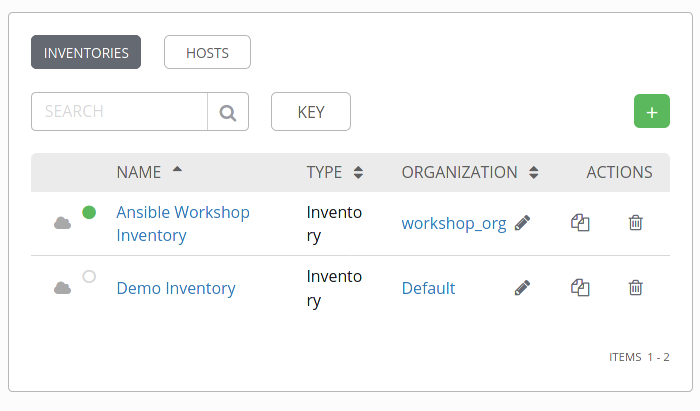
Figure 9: Inventory List
Step 3: Complete the Inventory form
Click on Ansible Workshop Inventory to see the details of the inventory:
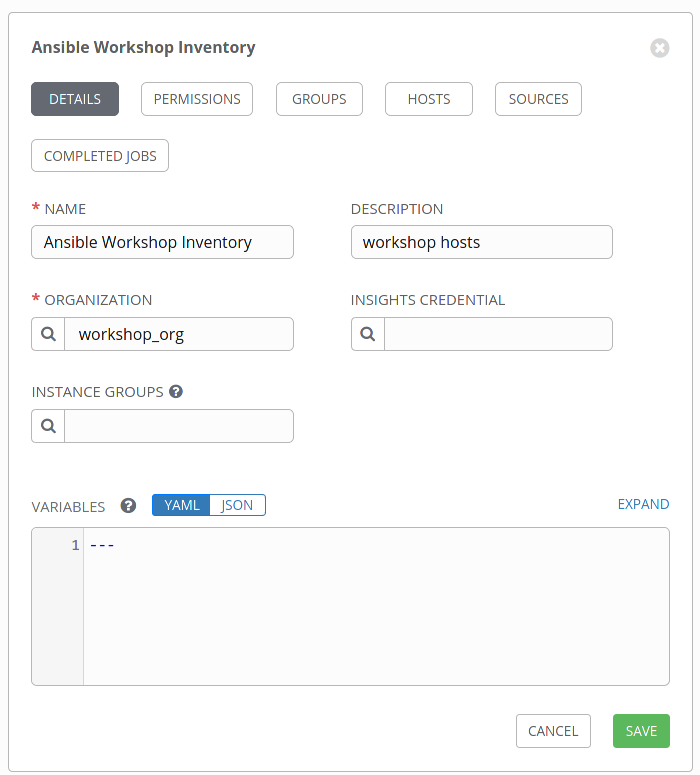
Figure 10: Inventory Details
You can click on ![]() to see the list of hosts:
to see the list of hosts:
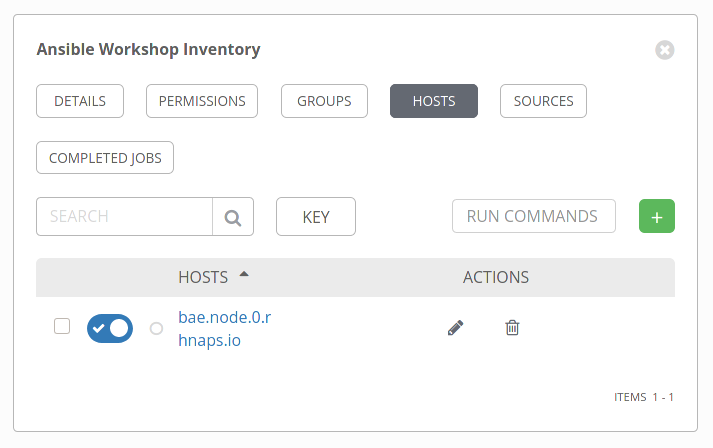
Figure 11: Inventory Hosts
You can click on ![]() to see the list of groups:
to see the list of groups:
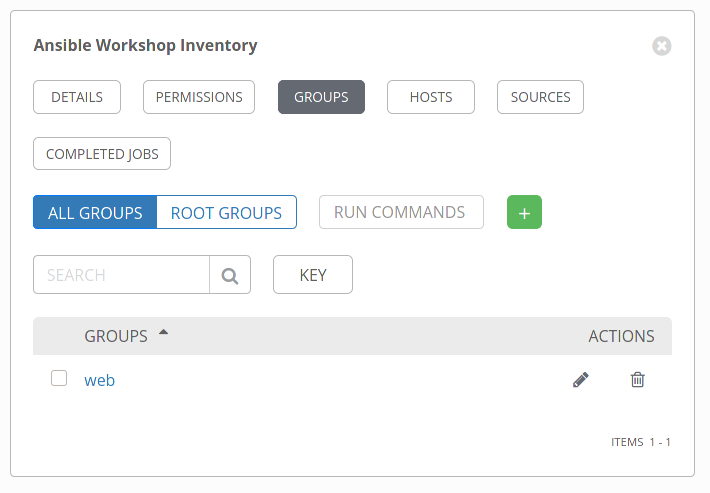
Figure 12: Inventory Groups
End Result
At this point, we are working with our basic configuration of Ansible Tower. In Exercise 1.1, we will be solely focused on creating and running a job template so you can see Ansible Tower in action.
×
Workshop Details
| Domain |
|
|
| Workshop | ||
| Student ID |
Workshop Details
| Domain |
|
|
| Workshop | ||
| Student ID |