Welcome to OpenShift!
This lab provides a quick tour of the console to help you get familiar with the user interface along with some key terminology we will use in subsequent lab content. If you are already familiar with the basics of OpenShift simply ensure you can login and create the project.
Key Terms
We will be using the following terms throughout the workshop labs so here are some basic definitions you should be familiar with. You’ll learn more terms along the way, but these are the basics to get you started.
- Container - Your software wrapped in a complete filesystem containing everything it needs to run
- Image - We are talking about docker images; read-only and used to create containers
- Image Stream - An image stream comprises one or more Docker images identified by tags.
- Pod - One or more docker containers that run together
- Service - Provides a common DNS name to access a pod (or replicated set of pods)
- Project - A project is a group of services that are related logically
- Deployment - an update to your application triggered by a image change or config change
- Build - The process of turning your source code into a runnable image
- BuildConfig - configuration data that determines how to manage your build
- Route - a labeled and DNS mapped network path to a service from outside OpenShift
- Master - The foreman of the OpenShift architecture, the master schedules operations, watches for problems, and orchestrates everything
- Node - Where the compute happens, your software is run on nodes
- Operator - A method of packaging, deploying, and managing a Kubernetes-native application.
Accessing OpenShift through the Web Console
OpenShift provides a web console that allows you to perform various tasks via a web browser.
Let’s Login to the Web Console
Use your browser to navigate to the URI provided by your instructor and login with the user/password provided.
https://console-openshift-console.apps.example.redhatgov.io
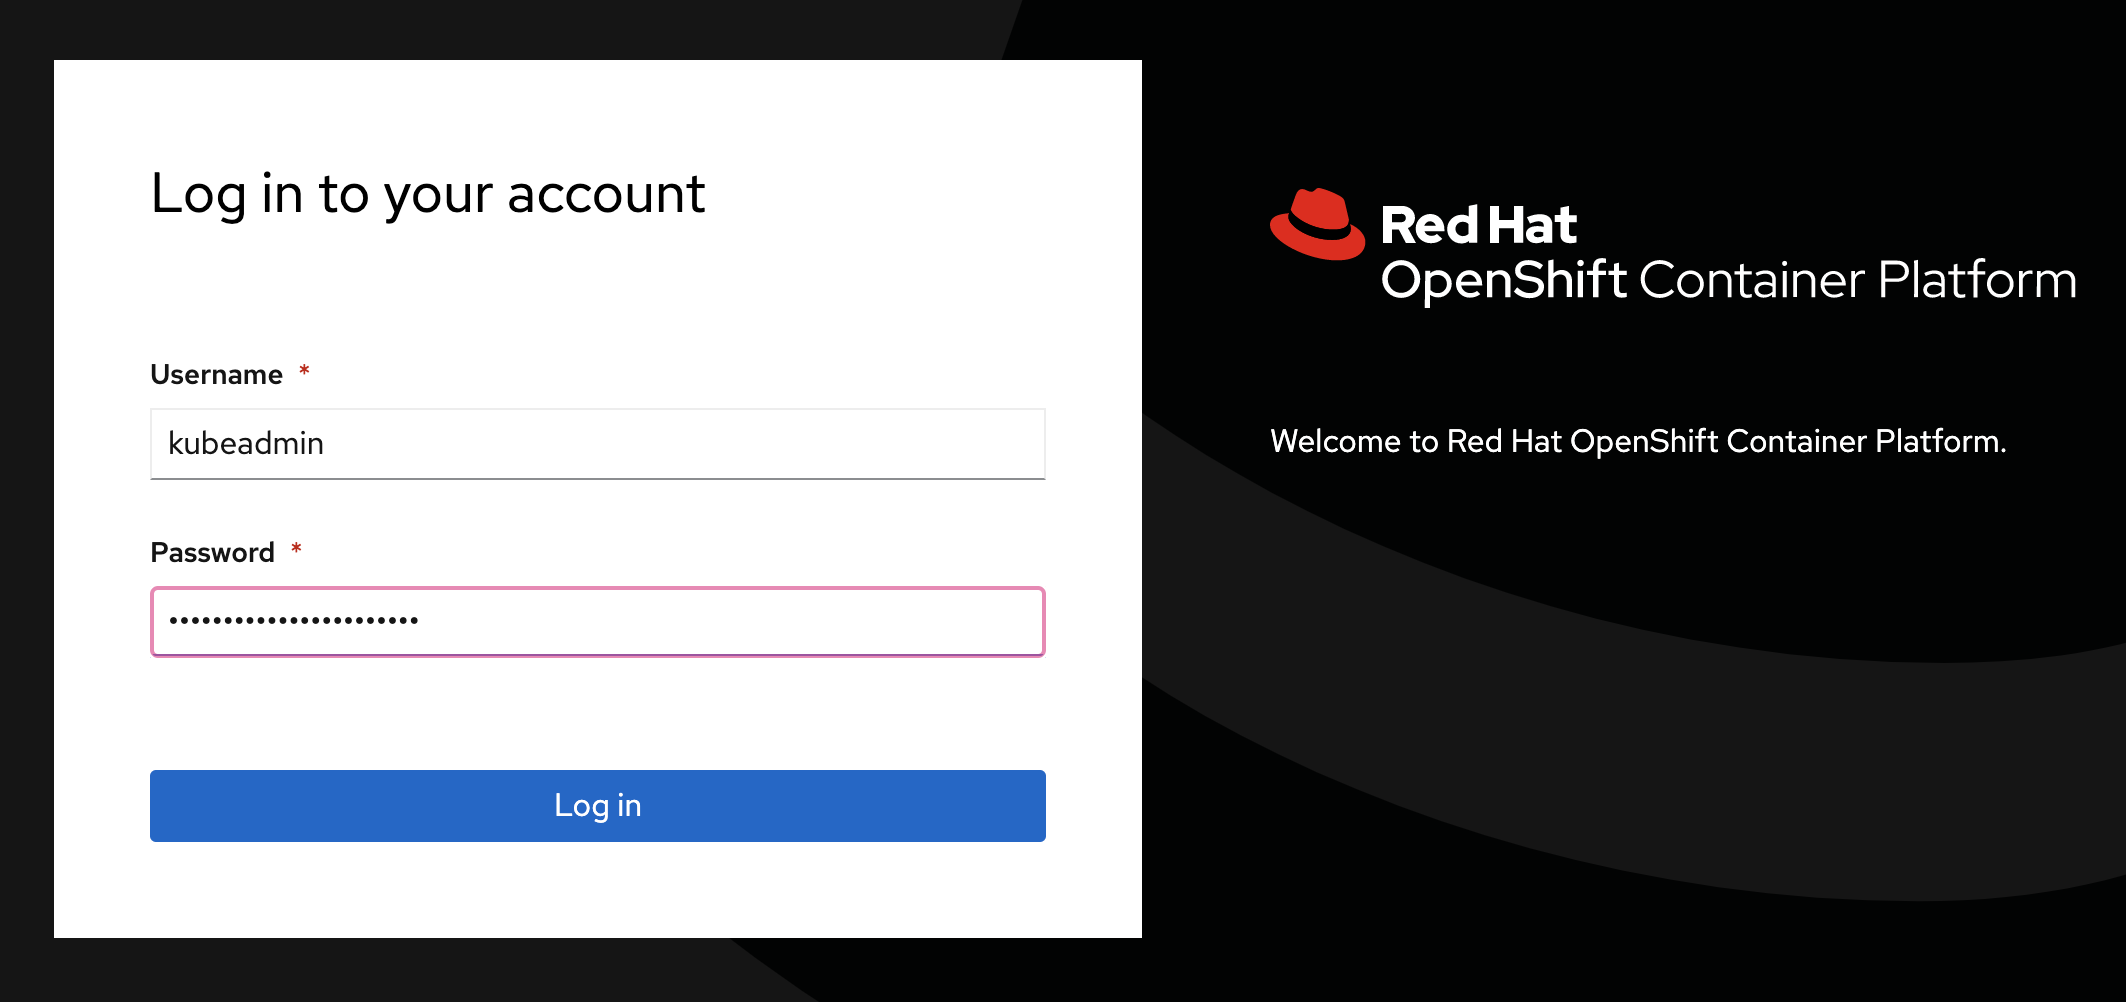
Login Webpage
Once you are logged in you should see the overview page for your cluster:
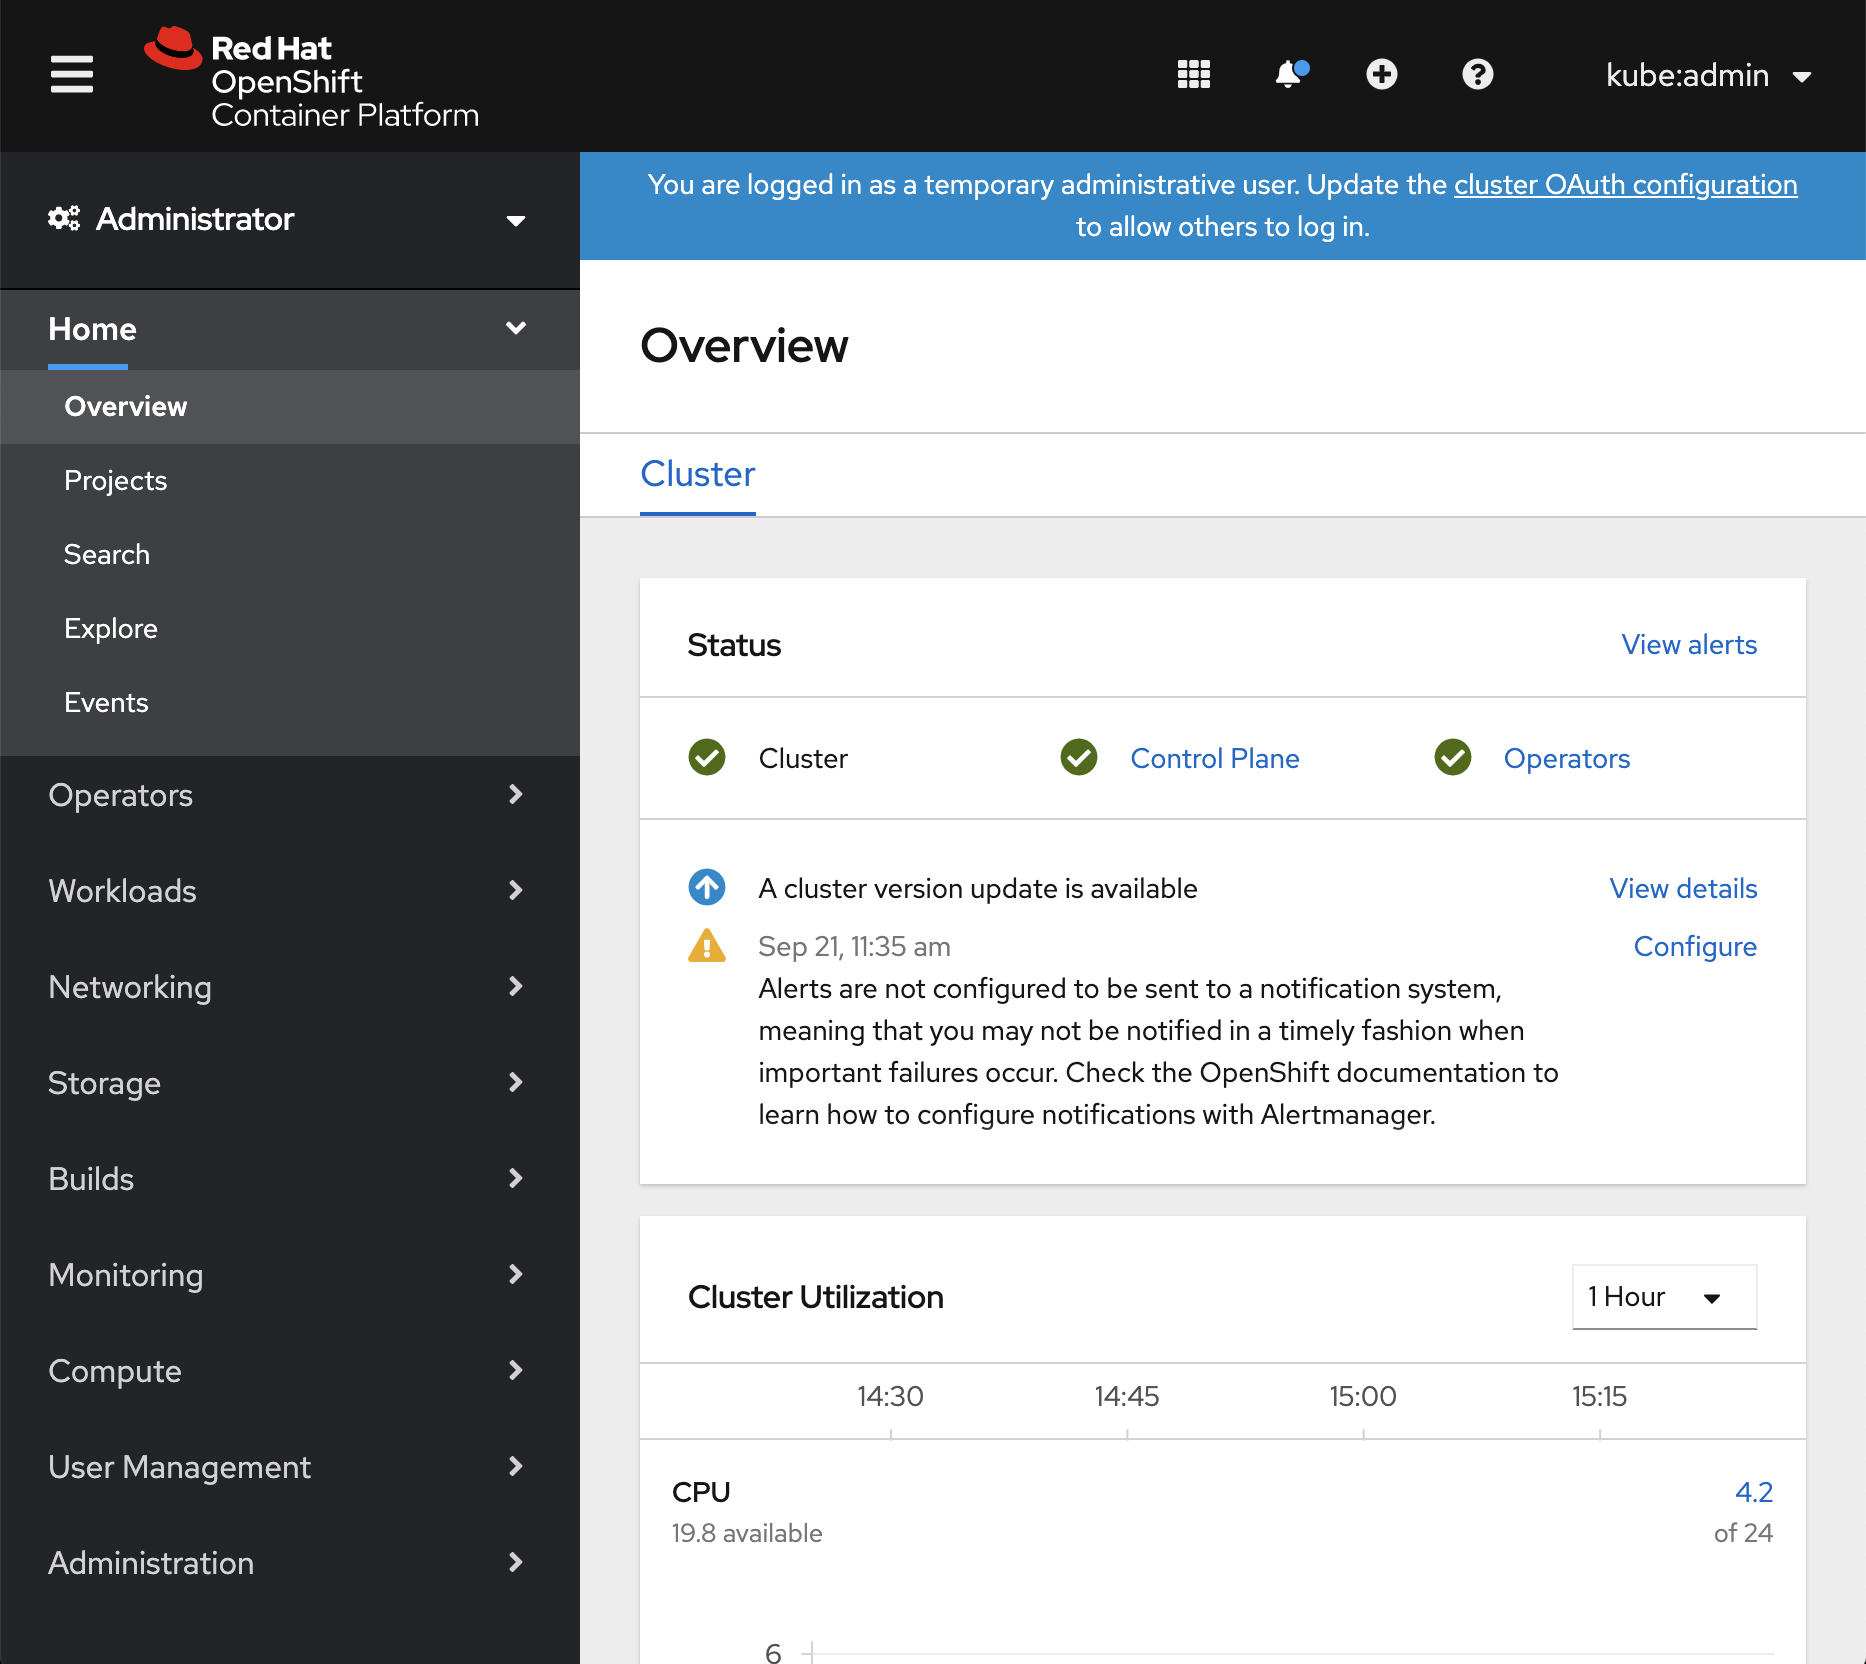
Administrator Default View
This is what an empty project looks like
First, let’s create a new project to run a terminal application that we’ll use for the rest of the workshop.
Click on “Projects” then the “Create Project” button and give it a name of terminal
Populate “Name” with “terminal” and populate the “Display Name” and “Description” boxes with whatever you like. Click on “Create” to create the project.
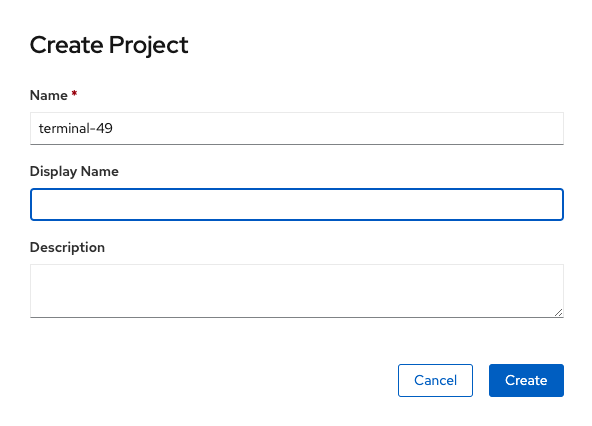
This is going to take you to the next logical step of adding something to the project but we don’t want to do that just yet.
Let’s deploy Butterfly (Browser-based SSH)
First, we need to change views from the “Administrator” view to the “Developer” view. There is a pop-up menu in the top left corner of the screen just below the menu (three horizontal lines) button.
Click "Administrator" and change it to "Developer"
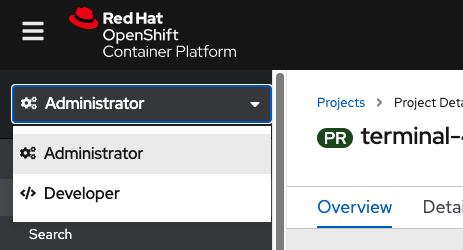
Click "+Add" to add a new item to the project

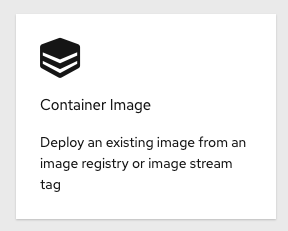
Click "Container Image" to add an existing image from the container registry
In the dialog box under the default radio button "Image name from external registry", enter "quay.io/openshifthomeroom/workshop-terminal". The image should be "Validated" when found.
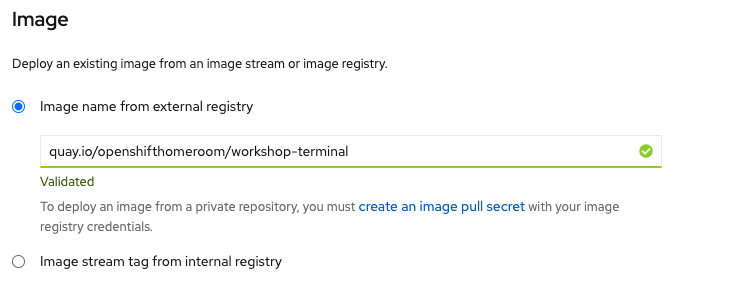
Observe the default values that are populated in the search results.
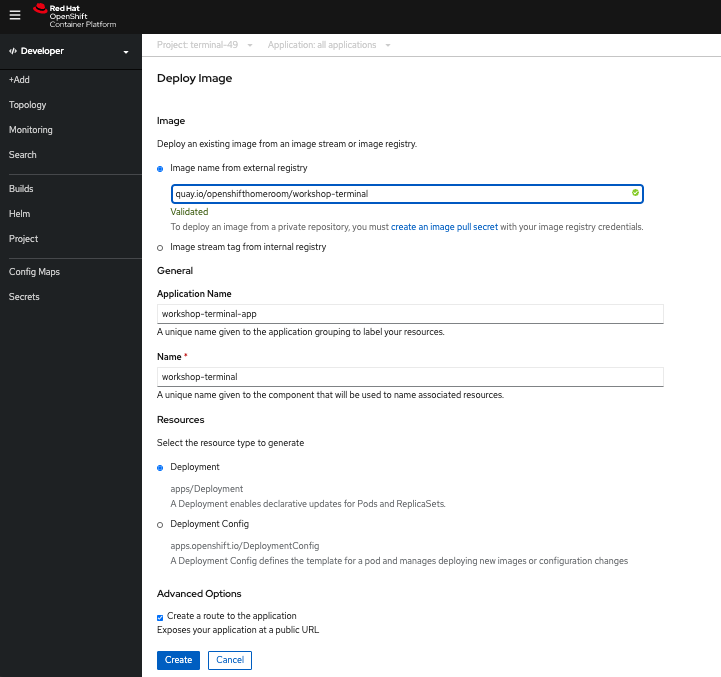
Click "Create"
You will now see a screen that shows a thumbnail view of your deployed application. Click on “D workshop-termin…” to expand the screen and see the details of the running pod:
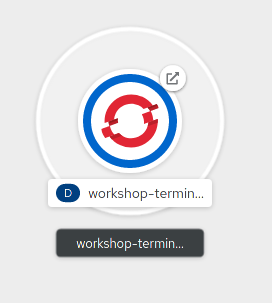
"Topology"
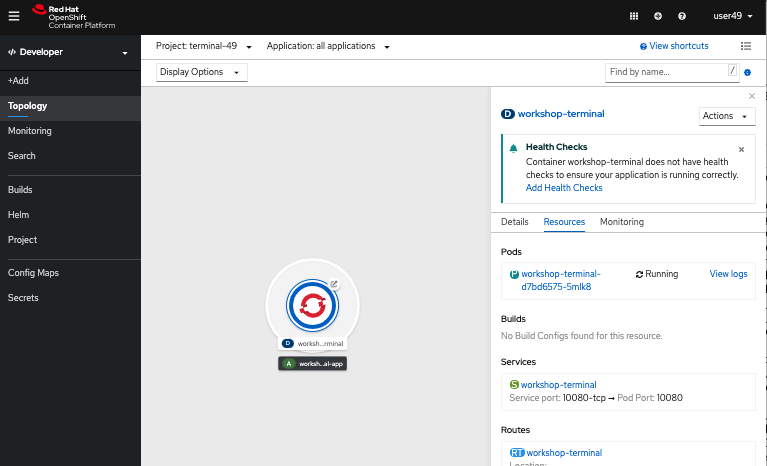
Test out the Butterfly webapp
Notice that in the web console overview, you now have a URL in the service box. You can see the webapp running by clicking the exposed route.

After clicking on the URLa new browser window should open placing you into a terminal session.

Now, type the command oc.
Accessing OpenShift through the CLI
In addition to the web console we previously used, you can utilize a command line tool to perform tasks.
Using the command line (CLI)
Use your existing Butterfly terminal login following command:
$ oc login
Using the same username/password combination as before, finish authenticating to the CLI
Authentication required for https://api.example.redhatgov.io:6443 (openshift)
 Username: kubeadmin
 Password:
Login successful.
Check to see what projects you have access to:
$ oc get projects
You will see ~58 projects including the “terminal-0” project.
Use the CLI to create a new project
Use the CLI to create and use a new project by typing the following command to create and use the project "demo-0"
$ oc new-project demo-0
Type the following command to show services, deployment configs, build configurations, and active deployments (this will come in handy later):
$ oc status
Summary
You should now be ready to get hands-on with our workshop labs.
Workshop Details
| Domain |

|
|
| Workshop | ||
| Student ID |