Exercise Description
Now that you’ve toured the web console, lets work through updating the system.
Section 1: Basic Updating
As you did in the previous section, navigate to the Software Updates section of the Web Console, by clicking on the Software Updates link, in the left-hand menu. There will then be a brief interval where Refreshing package information will appear, along with a progress bar. Once that completes, you can proceed with the exercise.
Step 1: Check for available updates
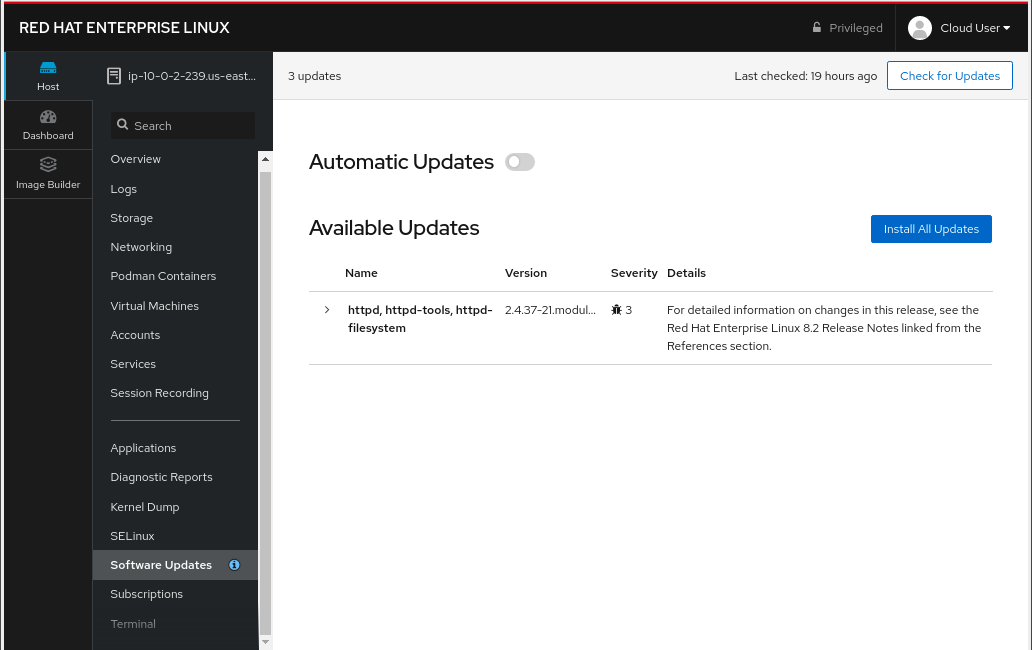
Take a look at the Available Updates section of the browser window. You should see several packages listed, in a single group, like this:
Figure 1: Packages Available for Updating
You can expand the list, to see more details, by clicking on the drill-down > link:

Figure 2: Expanded Updates
In the expanded view, you can see details on what CVEs are relevant to the updates, and any associated bug IDs. Additionally, a summary of the changes is displayed.
Step 2: Install updates
Once you are finished reading, click the Install All Updates button, to install the updated packages.
The updates will install, and while doing so, there will be information on what actions are taking place, and below that, an expandable log drill-down. Once complete, you may receive a window like this:

Figure 3: Updates Recommend a Restart
Step 2: Restart the system
If required, click the Restart Now button to reboot your managed host and cause the changes to take effect. You will see screens like these while the system is rebooting:
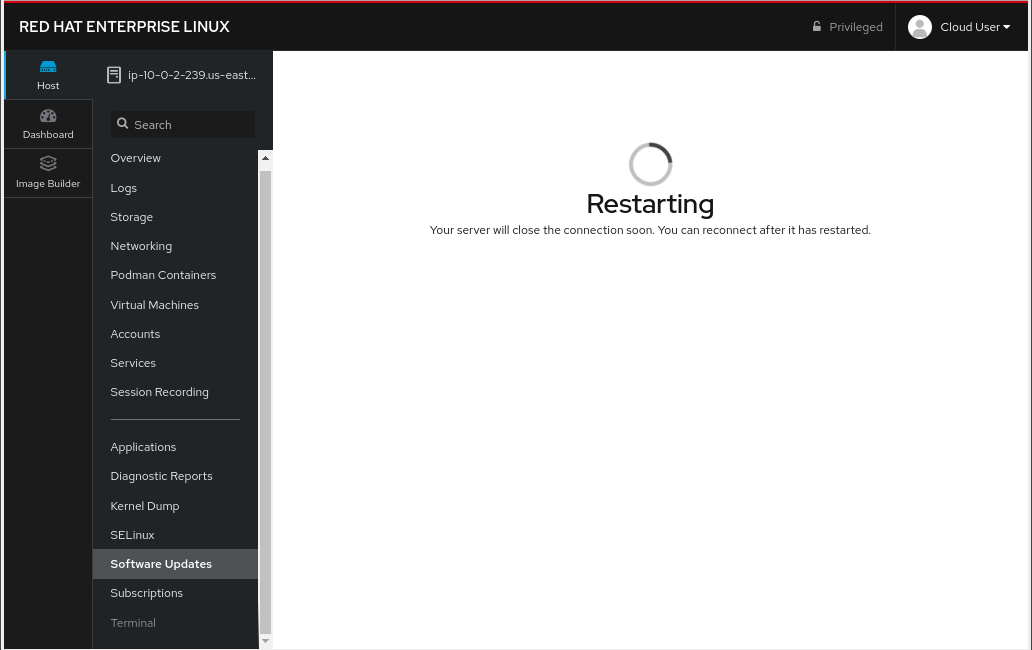
Figure 4: System Restarting
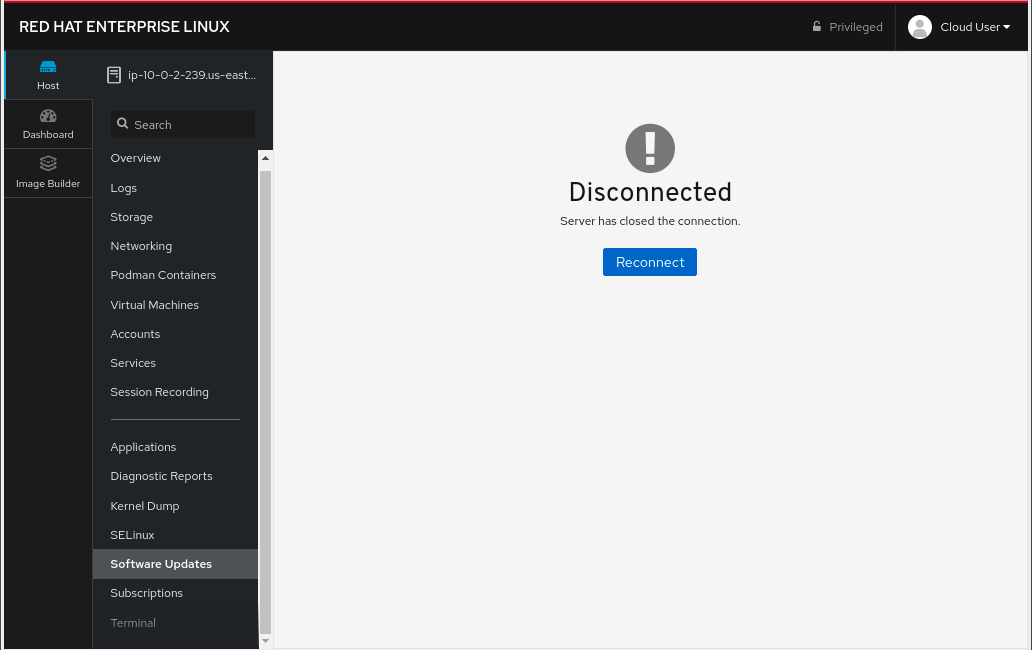
Figure 5: Disconnected
Step 3: Reconnect
Wait for a couple of minutes, for the system to come back up, and then click the Reconnect button, to be returned to the login screen, for the web console. Login, as before.
Step 4: Summary
Once you are logged back in, you will again see the updates screen, with a list of the updates that you just applied. You can expand the history list, to see the details.
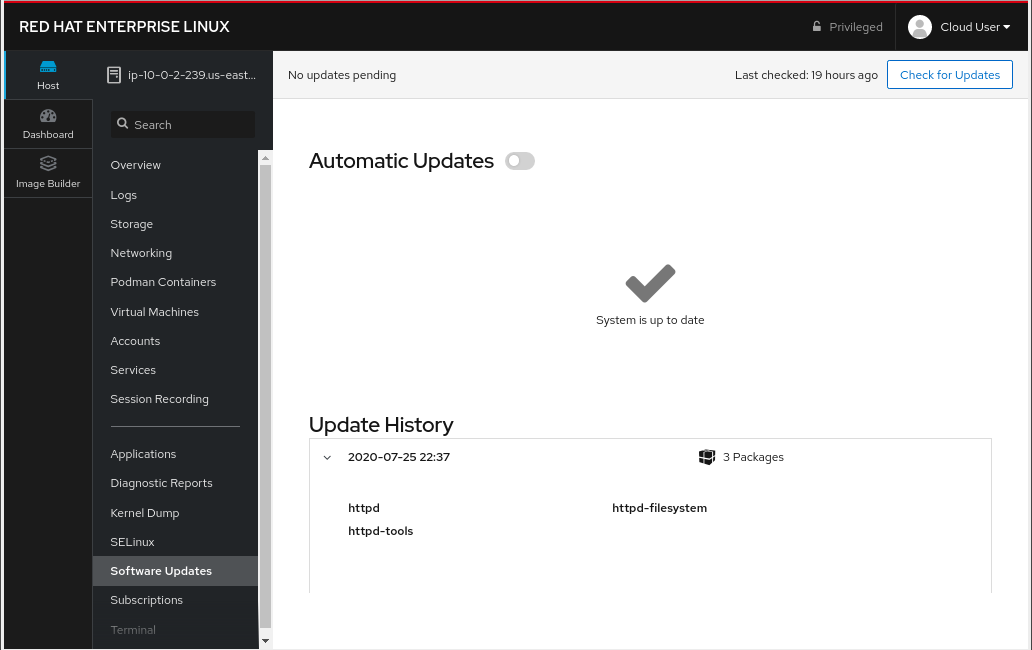
Figure 6: Update Summary
Section 2: Automatic Updating
Next, let’s take a look at automatic updating. There is an Automatic Updates switch, at the top of the updates window.
Step 1: Enable Automatic Updates
Click on the switch, next to the Automatic Updates label. You will then see a message, telling you that the package dnf-automatic is needed:

Figure 7: Install the dnf-automatic Package
Click the Install button, to proceed.
Step 2: Configure Timing
Once the dnf-automatic package is installed, you can choose which updates to install, which days, and what time:
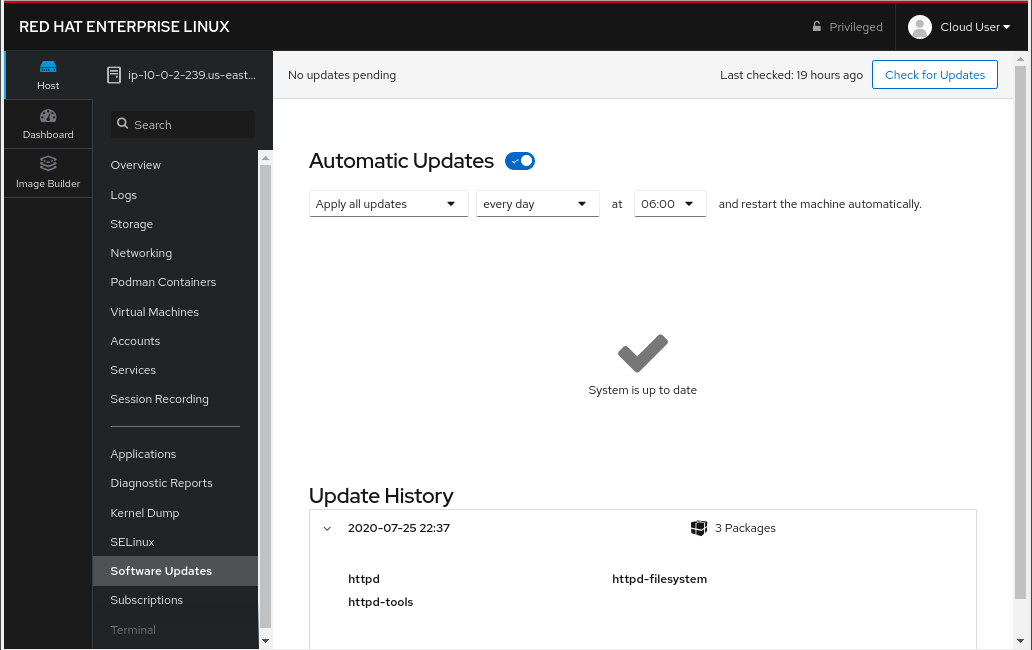
Figure 8: Configure Automatic Updates and Timing
You can select from the available menus, and select any combination of the following options:
| Which updates? | What day? | What time? |
|---|---|---|
|
|
|
Set the automatic update mechanism for Fridays, to apply security updates, at 03:00.
With this simple change, your system will always be up-to-date on critical security fixes, without you having to lift a further finger!
Summary
We’ve tried out the RHEL 8 web console’s manual and automatic updating functionality. Please ask any questions that seem relevant, and then we can move on to the next section.
×
Workshop Details
| Domain |
|
|
| Workshop | ||
| Student ID |
Workshop Details
| Domain |
|
|
| Workshop | ||
| Student ID |