Floating IP vs. Private IP Addresses
Private IP Address
A private IP address is assigned to an instance’s network-interface by the DHCP server. The address is visible from within the instance by using a command like “ip a”. The address is typically part of a private network and is used for communication between instances in the same broadcast domain via virtual switch (L2 agent on each compute node). It can also be accessible from instances in other private networks via virtual router (L3 agent).
Floating IP Address
A floating IP address is a service provided by Neutron. It’s not using any DHCP service or being set statically within the guest. As a matter of fact the guest’s operating system has no idea that it was assigned a floating IP address. The delivery of packets to the interface with the assigned floating address is the responsibility of Neutron’s L3 agent. Instances with an assigned floating IP address can be accessed from the public network by the floating IP.
A floating IP address and a private IP address can be used at the same time on a single network-interface. The private IP address is likely to be used for accessing the instance by other instances in private networks while the floating IP address would be used for accessing the instance from public networks.
You can learn more about the difference between Floating IP and private IP from the RDO website. https://www.rdoproject.org/networking/difference-between-floating-ip-and-private-ip/
A floating IP range was already created on the public-sub subnet for the public network in our workshop environment.
The range is 192.168.1.70 to 192.168.1.199. Each student project has a quota of 50 Floating IP Addresses
Let’s Go Allocate Some Floating IP Addresses
Navigate to Network -> Floating IPs using the second level navigation tabs
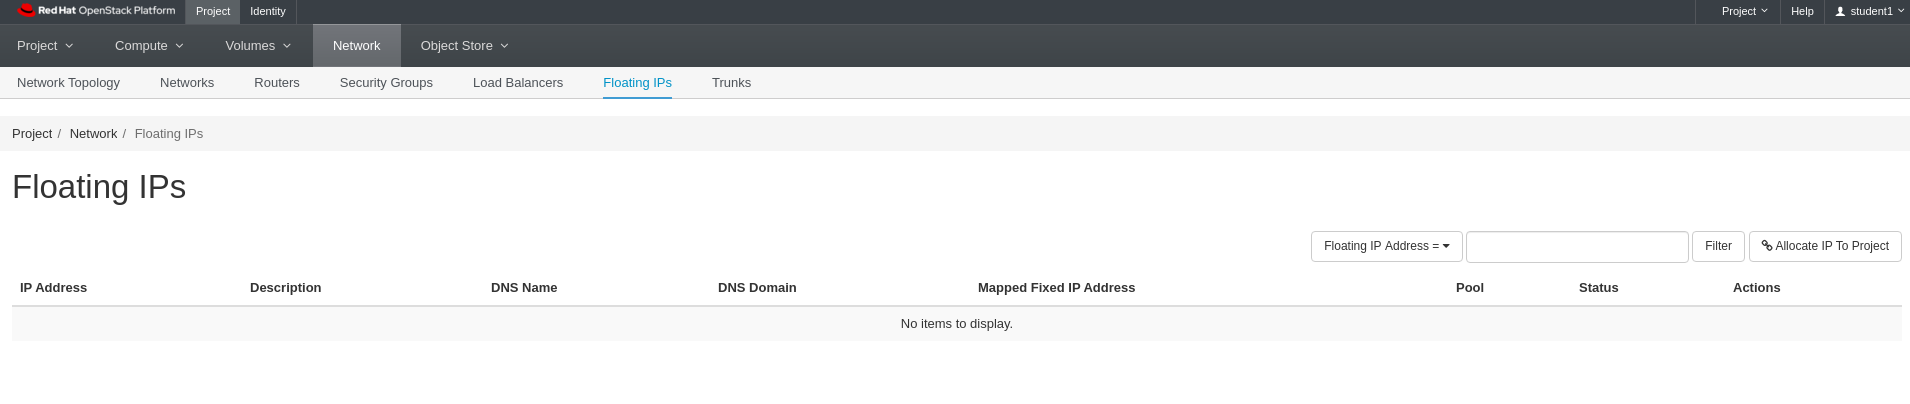
Lab 3 Figure 1: Floating IP Listing
Click Allocate IP to Project on the right hand side of the screen
Make sure public is selected for Pool
Click Allocate IP
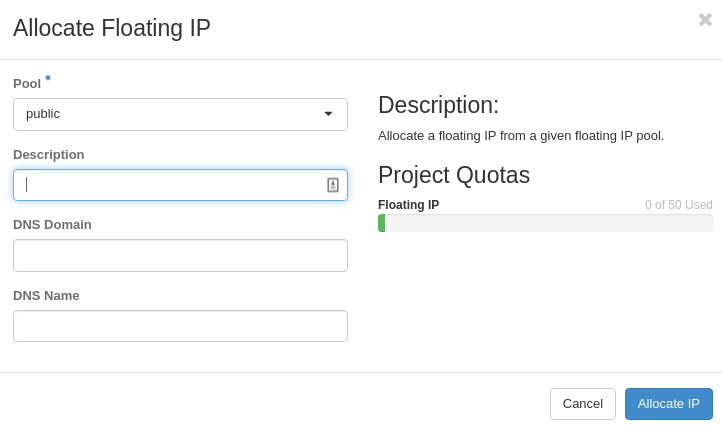
Lab 3 Figure 2: Allocate Floating IP to Project
You should see a green box appear in the upper right corner of the screen that says something similar to “Success: Allocated Floating IP 192.168.1.106.”
Note that you will get a different IP from the pool each time you go through this process.
If you did not get an IP allocated, let the intstructor know now

Lab 3 Figure 3: New Floating IP Allocated to Project
Go through the allocation process 2 more times so that you have a total of 3 floating IPs allocated to your project

Lab 3 Figure 4: Floating IP List Showing 3 Allocated to Project
Summary
We have now learned how to allocate floating IP addresses to our project. We can now associate these to instances in our project which we will do in a later lab.
In these labs, we are using Horizon to complete tasks. However, remember that there are three ways to interact with OpenStack.
- APIs
- CLI
- Horizon
We could accomplish these same tasks via the other 2 methods as well. In fact in some cases, the CLI and APIs have more options available than Horizon.
In our next lab, we will start working with security groups.
Workshop Details
| Domain |
|
|
| Student ID | ||